How to Manage the license for ARMember Pro?

How to Install and Activate ARMember License?
Important Note: Create a comprehensive backup of your existing ARMember data to avoid losing any critical information during the transition process to manage ARMember license.
You can easily manage ARMember License with its seamless solution for transferring the license from a staging site to a production site. That too with minimal hassle. Our platform allows you to easily remove the license functionality and move it to your desired location with just a few clicks. This feature provides a convenient way to manage your licenses and ensure a smooth transition between sites.
Activate the license on the staging site:
The very first step to set up and manage an ARMember license is to activate the license. So if your initial requirements are to test the flow then you can activate the license at your staging site and to activate the license at the staging site you can follow simplified steps, know more on how to activate the license.
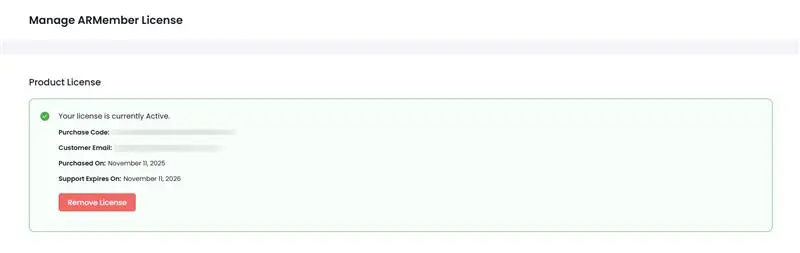
Deactivate License on Staging Site:
Follow the simplified steps to remove the license.
- Log in to your WordPress admin dashboard on the staging site.
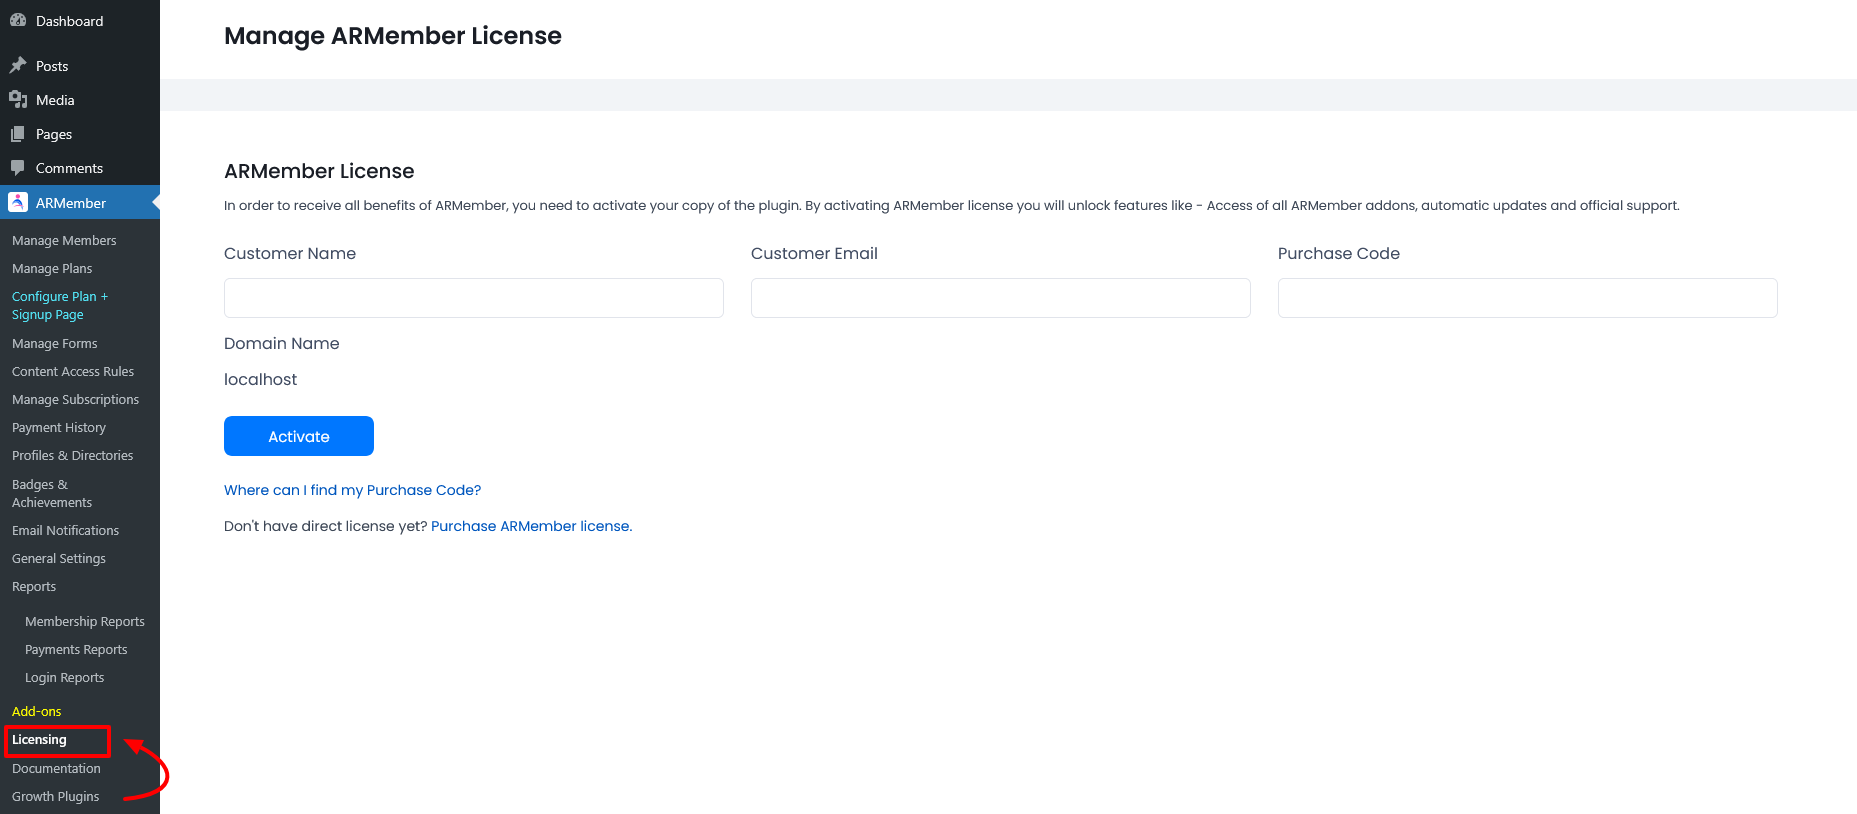
- Go to
ARMember ⇾ Licensing. - Click on
Remove Licenseto release the license from the staging site.
Activate the license on Production Site:
Once the license is deactivated from the staging site, then the license will be released from there and can be further added to the production site. Further, you can follow the below-provided steps:
- Log in to your WordPress admin dashboard on the production site.
- Navigate to the
ARMember ⇾ Licensingpage. - Enter your license key into the appropriate field.
- Add the appropriate details as well.
- Hit the
Activatebutton to bind the license to your production site.
To manage ARMember license key for the plugin, check out the detailed steps from here.
By following these steps, you can transfer your ARMember license, minimizing any potential issues or consequences that could arise from improperly managing the license transition.
Important Note: Once the license will be deactivated, then all the inbuilt addons will be deactivated as well.
How to Manage an ARMember License Purchased from a website?
To activate the license when ARMember is purchased from the ARMember Website, you can first get the license key by following a few below provided steps:
Step 1: Login
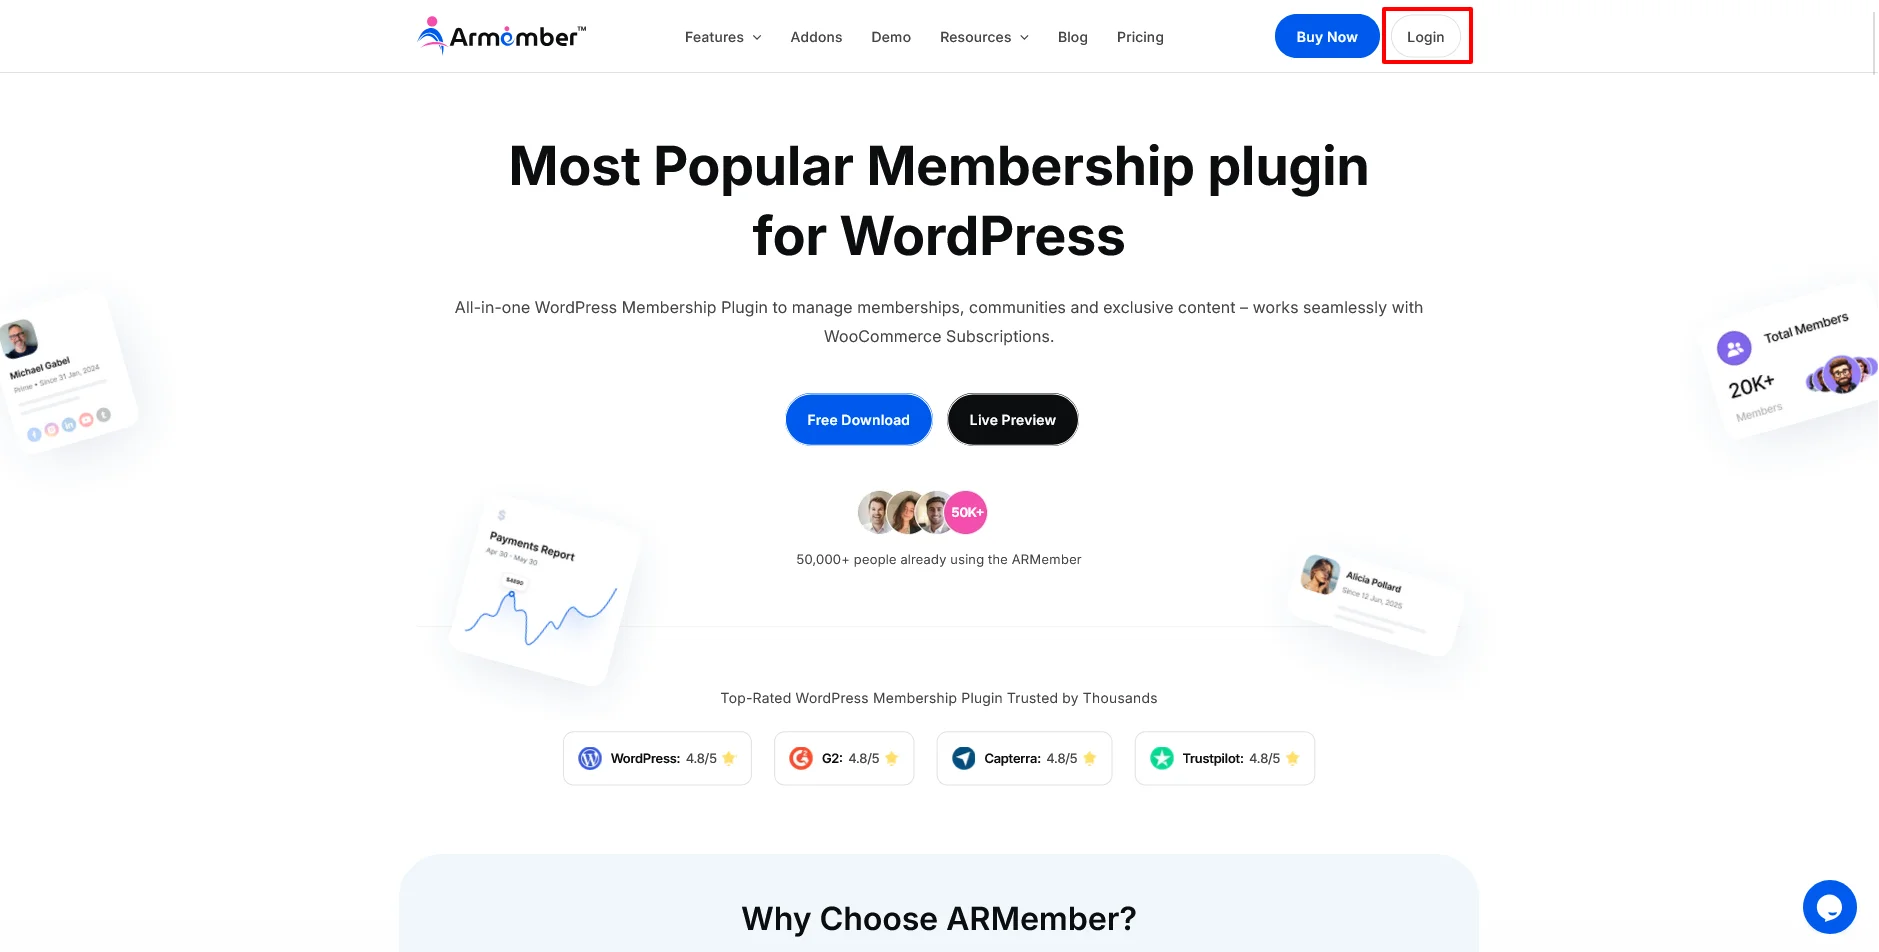
Login to account at the ARMember website. If you have logged in to the account and then purchased the add-ons, then you can log in to the same account.
But if you haven’t had an account and purchased the plugin directly, then you use the similar details to login which were used at the time of purchase to successfully log in to the account at the site.
Step 2: My Account

Once you are logged in successfully, then you will be able to check a dropdown arrow beside the icon of a person at the right.
Click on the icon, and then you will be able to check the option of My Account. Thereafter, navigate to your account.
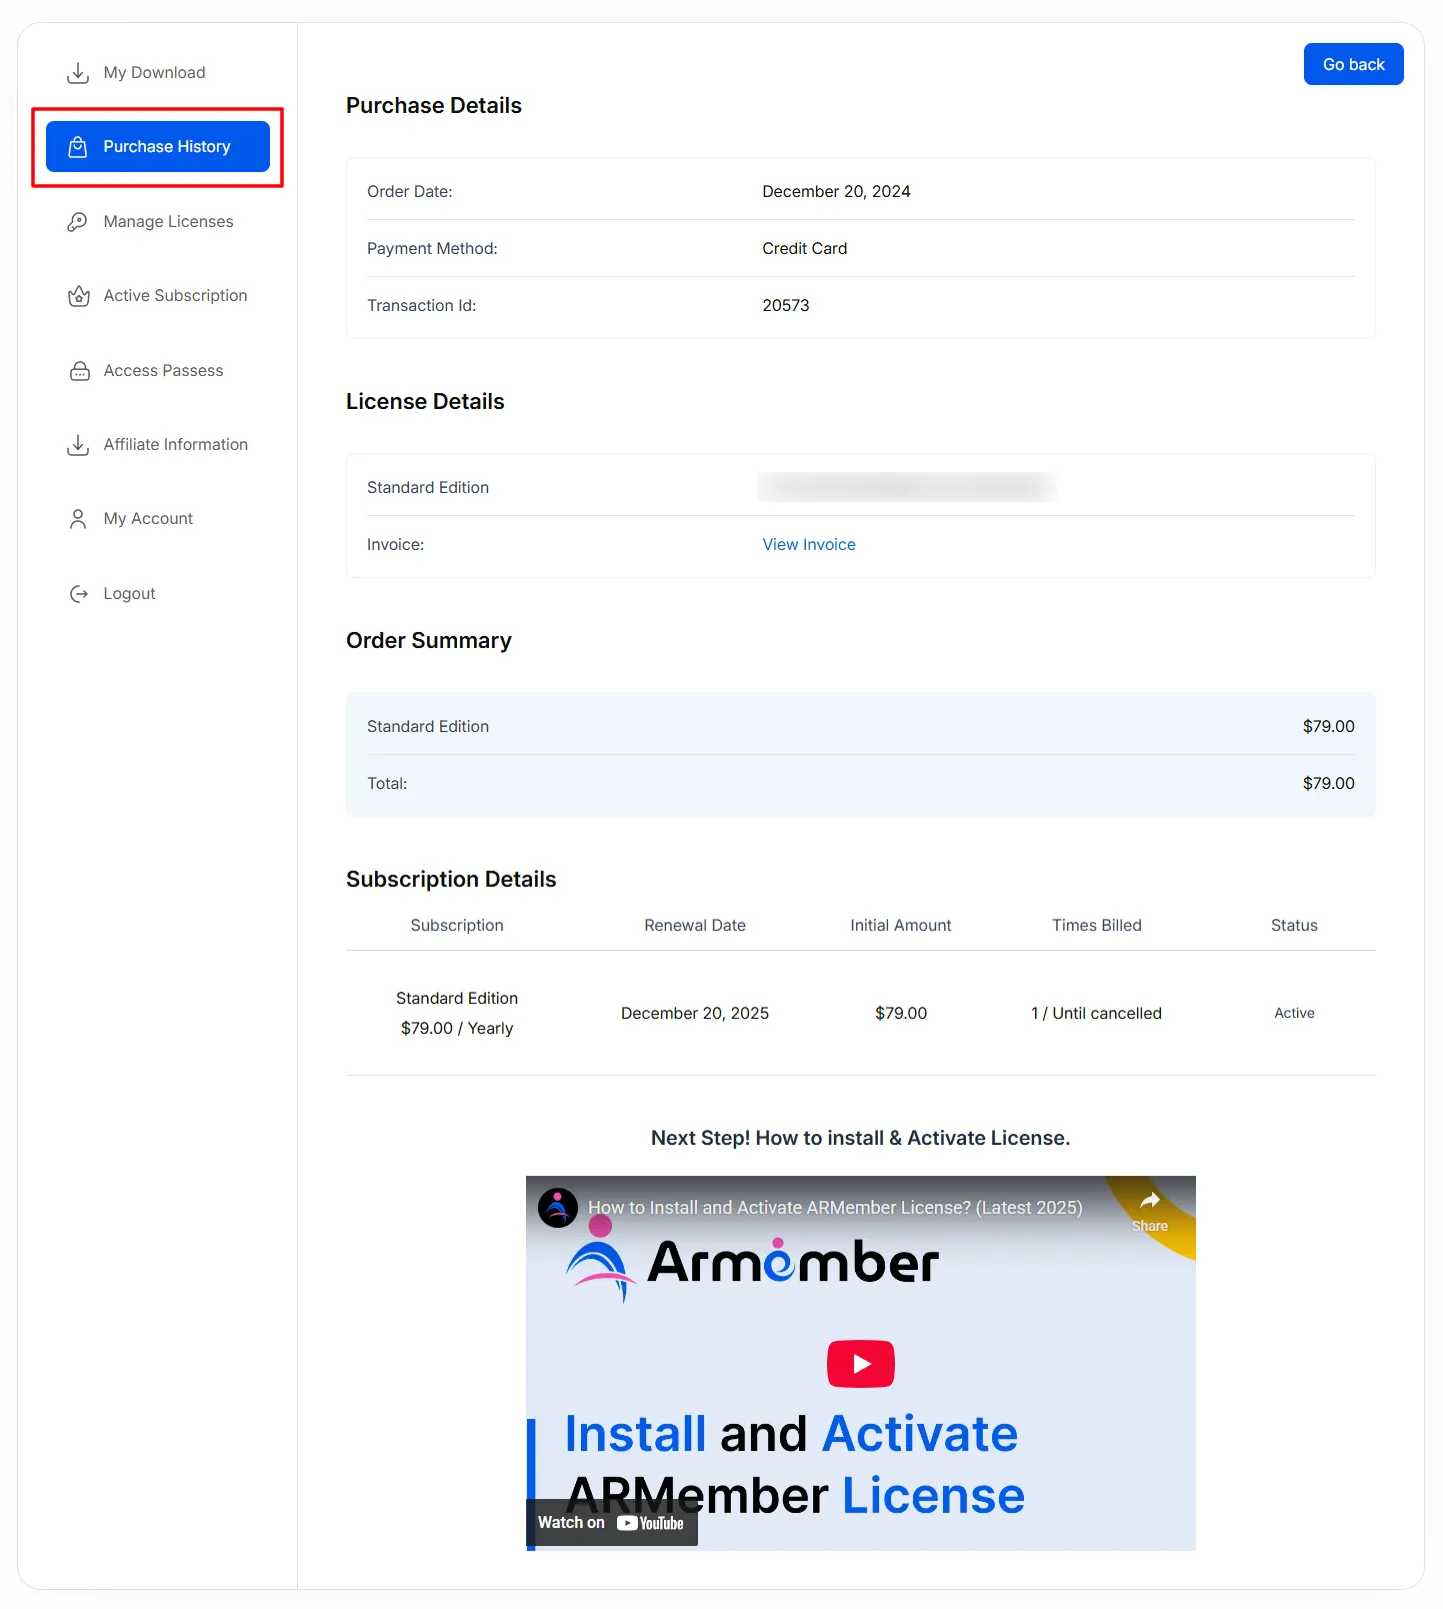
Step 3: Purchase History
Here you can check the history of the purchased plugin, and there you can check Eye Icon where you can click on it to get more details to manage the ARMember license.
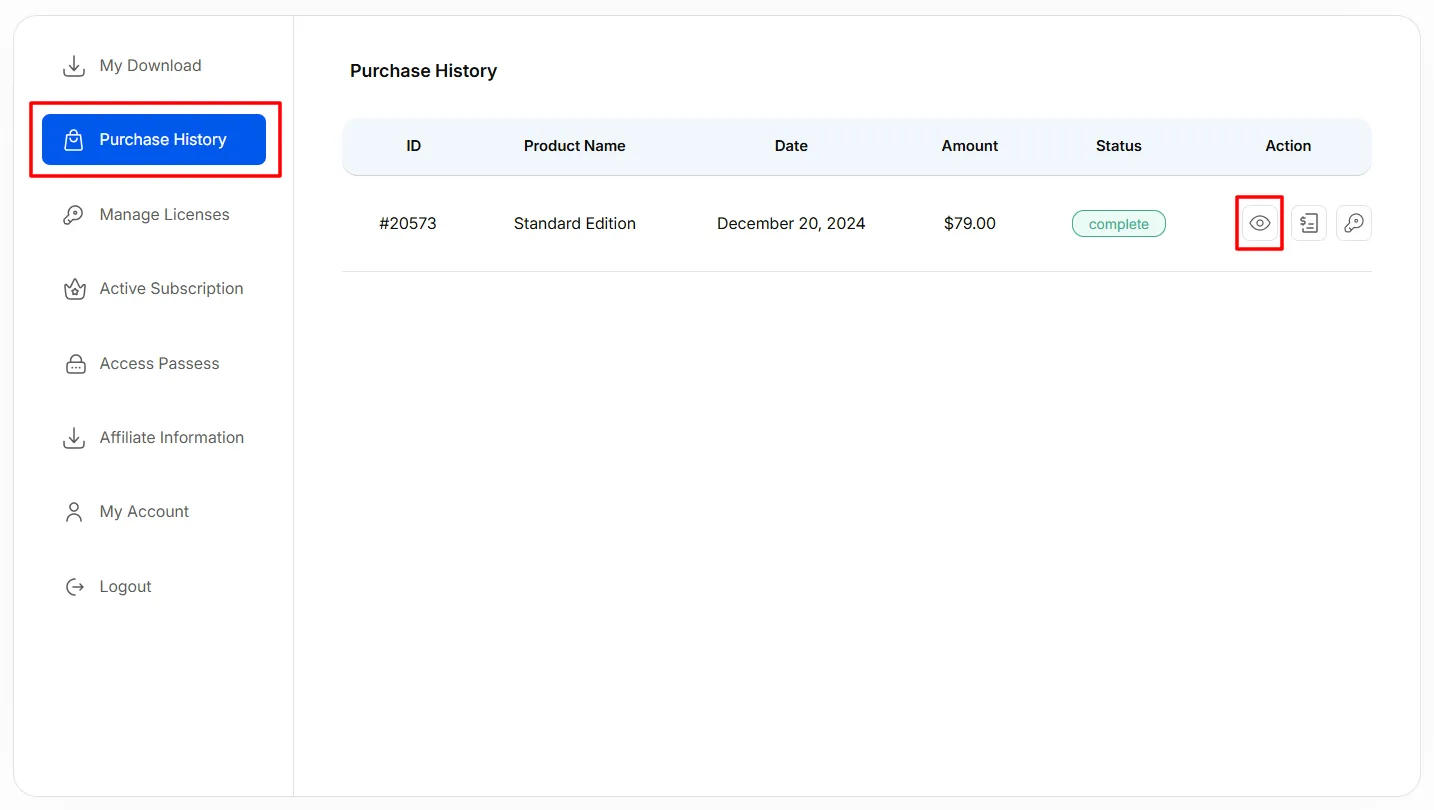
Step 4: License Key
When you click on it Eye Icon at that time, you will be able to check License Key, and Invoice . You can also Download the plugin from here.
Step 5: Activate License
Navigate to WordPress ⇾ Admin Panel ⇾ ARMember ⇾ Licensing, and here you will be able to add the license key for the ARMember plugin.
How to Manage the License for ARMember Addons?
ARMember Premium addons have the license key to activate each addon individually. To get the license key for the addons, there is a similar process to manage the ARMember license for the addons. To transfer the license you can follow the below-provided steps:
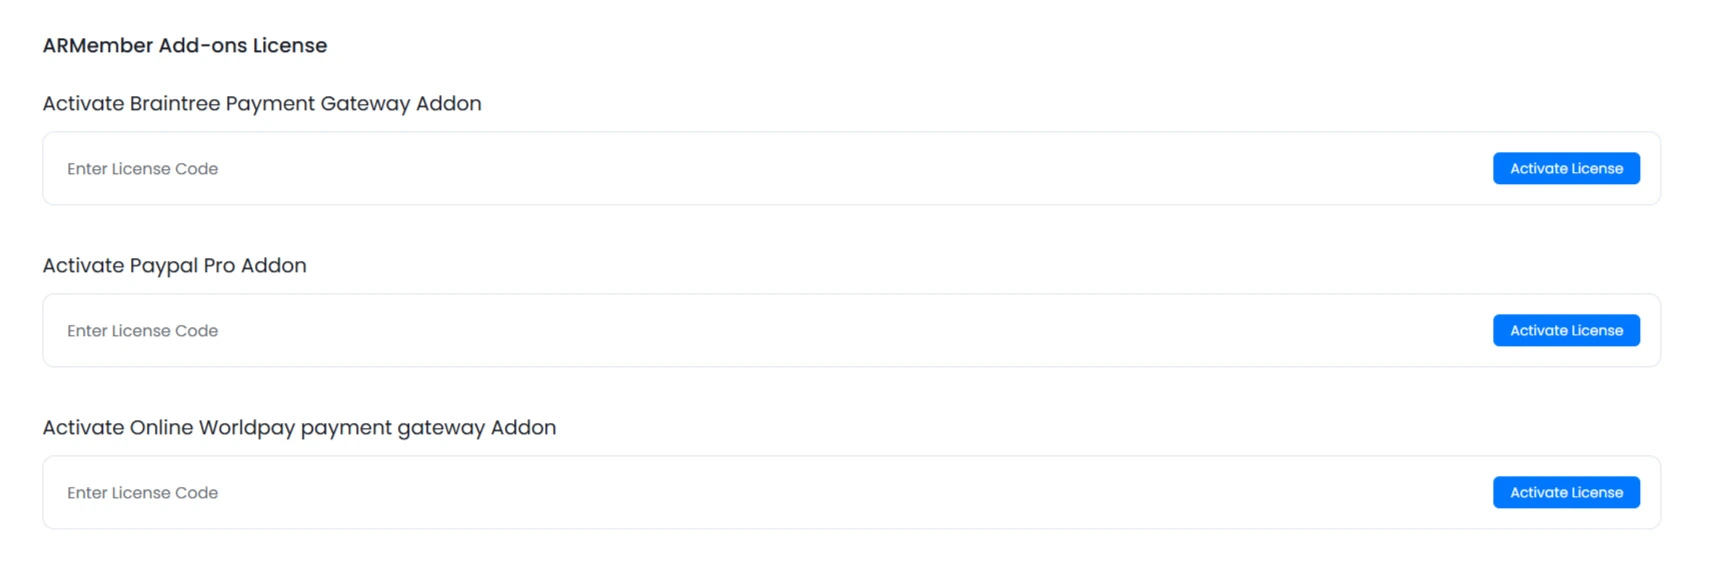
Activate the Addon License on the staging site:
Firstly, to use the premium addons at the staging, you need to install the addon and then add it to your staging site After that, activate the license for the addon. Check out the detailed guide to install and activate the addon license.
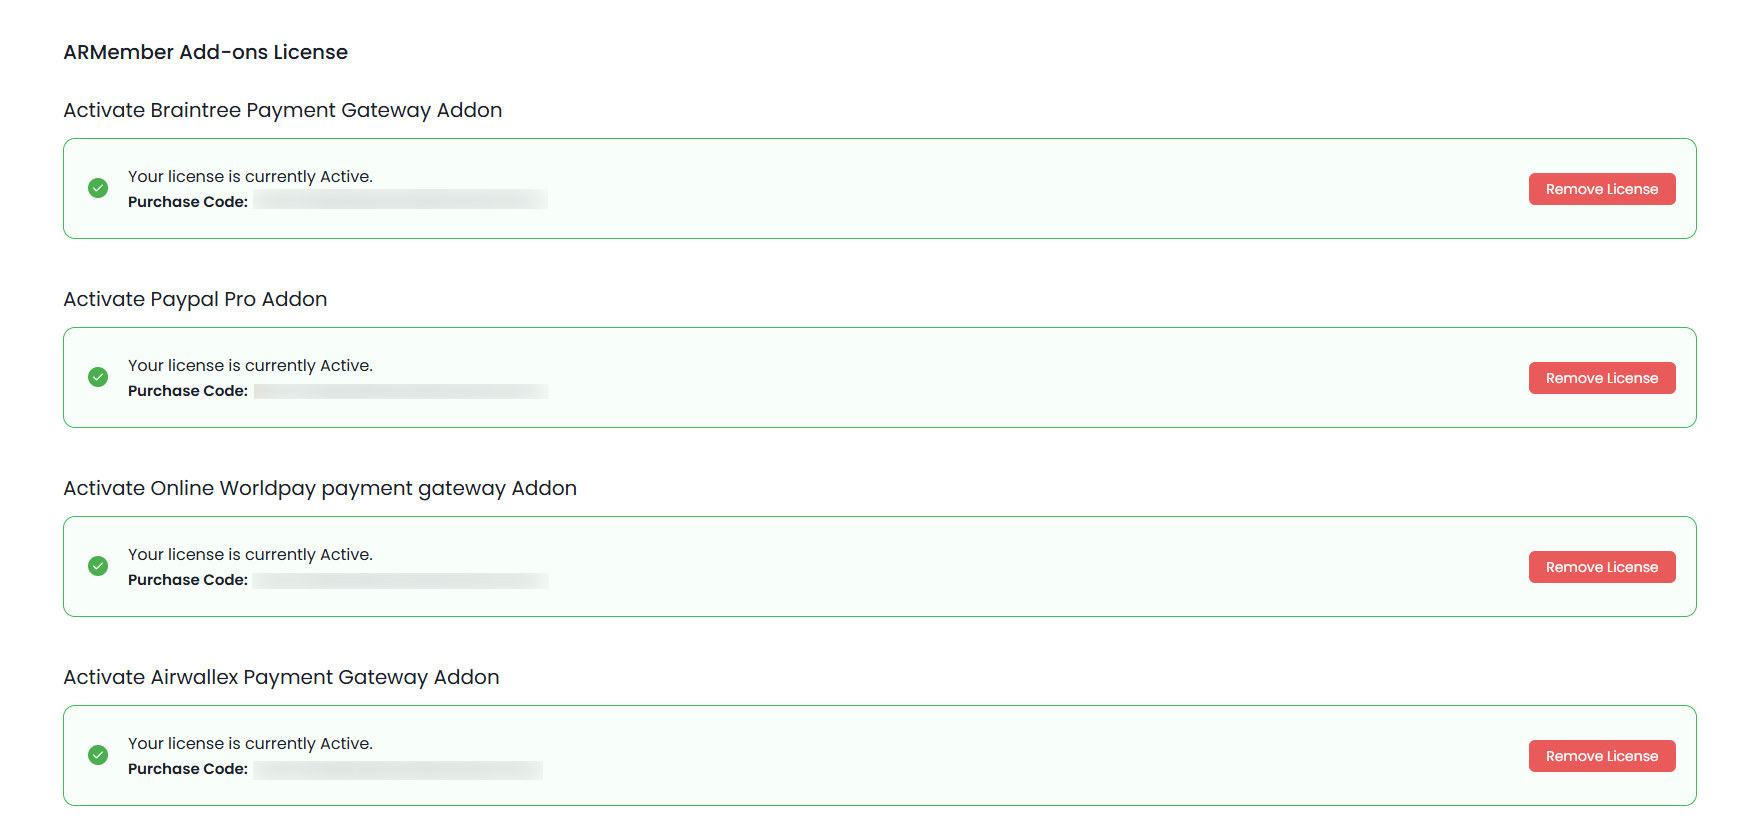
Deactivate Addon License on Staging Site:
Follow the simplified steps to manage the ARMember license on the staging site.
- Log in to your WordPress admin dashboard on the staging site.
- Go to
ARMember ⇾ Licensing ⇾ ARMember Add-ons Licensesection. - Click on
Remove Licenseto release the license from the staging site.
Activate the Addon License on the Production Site:
Once the license is deactivated from the staging site, then the license will be released from there and can be further added to the production site. Further, you can follow the below-provided steps:
- Log in to your WordPress admin dashboard on the production site.
- Navigate to the
ARMember ⇾ Licensing ⇾ ARMember Add-ons Licensepage. - Enter your license key into the field.
- Hit the
Activate Licensebutton to bind the license to your production site.
Thus, like this, you can manage the ARMember license for the Pro plugin as well as premium addons purchased separately.