

How to Configure & use the Pay Per Post inbuilt addon with the ARMember Pro plugin
Introduction to Paid Posts
Pay Per Post is an inbuilt addon offered by ARMember. This provides a facility to make particular WordPress Pages/Posts as paid. For example, If you want some Pages/Posts to be restricted until the users pay for that Pages/Posts, then you can use the Pay Per Post Addon. This addon easily manage the paid post and the purchase history of the members, apart from that there are certain things like redirection after paid post purchase, email notifications and much more. We will follow the step-by-step guide for configuring paid posts.
Activate the Addon
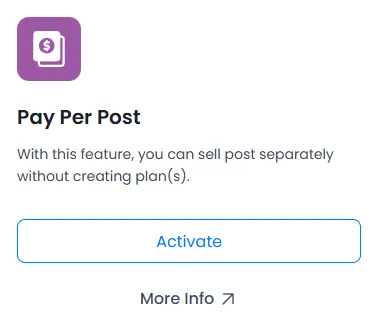
In order to enable the functionality of creating the paid post, it is essential to activate that addon. In order to activate it, navigate to your WordPress Admin Panel ⇾ ARMember ⇾ Addons page. Here, activate the Pay Per Post addon.
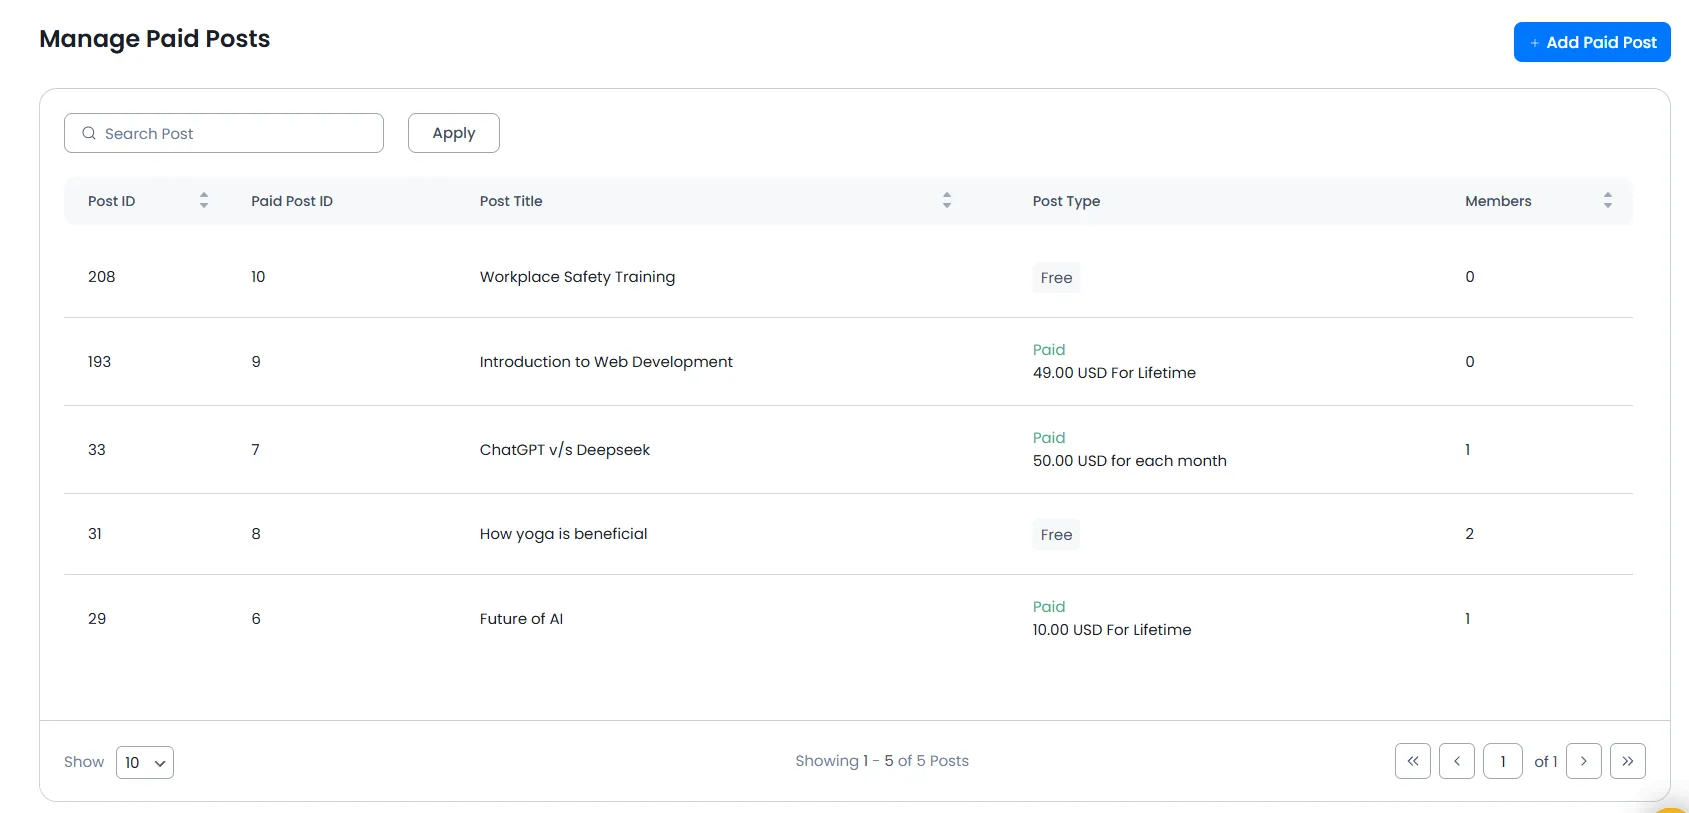
Create/Add New Paid Post
In order to create a paid post, navigate to the Admin Panel ⇾ ARMember ⇾ Manage Paid Posts. Over this page in the top right corner, you will be able to check the + Add Paid Post, click on that button to add a new post.
Once you click on that button, then you will be able to check certain options to create a new paid post/page.

From the above screen, you can configure the Paid Post for the members. ARMember does provide a facility to apply Paid Post on Pages/Posts/Custom Template/Products.
Let’s add the new Paid Post by following the below step:
- Select the type of content from the
Content Typedropdown. - After selecting the Content Type, you need to select the content which you want to make as a paid. For example, If you select Posts as a Content Type then in below textbox you can find a List of Post. If you select Product as Content Type then in below textbox you can find the list of product.
- After selecting the content, you need to select the payment type from the different Post Types.
- Also, you can add the alternative content for the users who have not paid for the selected content.
- To add the alternative content, you need to enable the
Alternative Contentswitch. after enabling the switch, you will see the text editor where you can add your alternative content.
Managing Paid Post

From ARMember ⇾ Manage Paid Posts you can Add/Edit/Delete the Paid Post for the users. Also, admin can check the members who purchased the paid post at the Manage Paid Post, here when ‘Eye icon’ is clicked then it will display the list of members who have purchased that particular post.
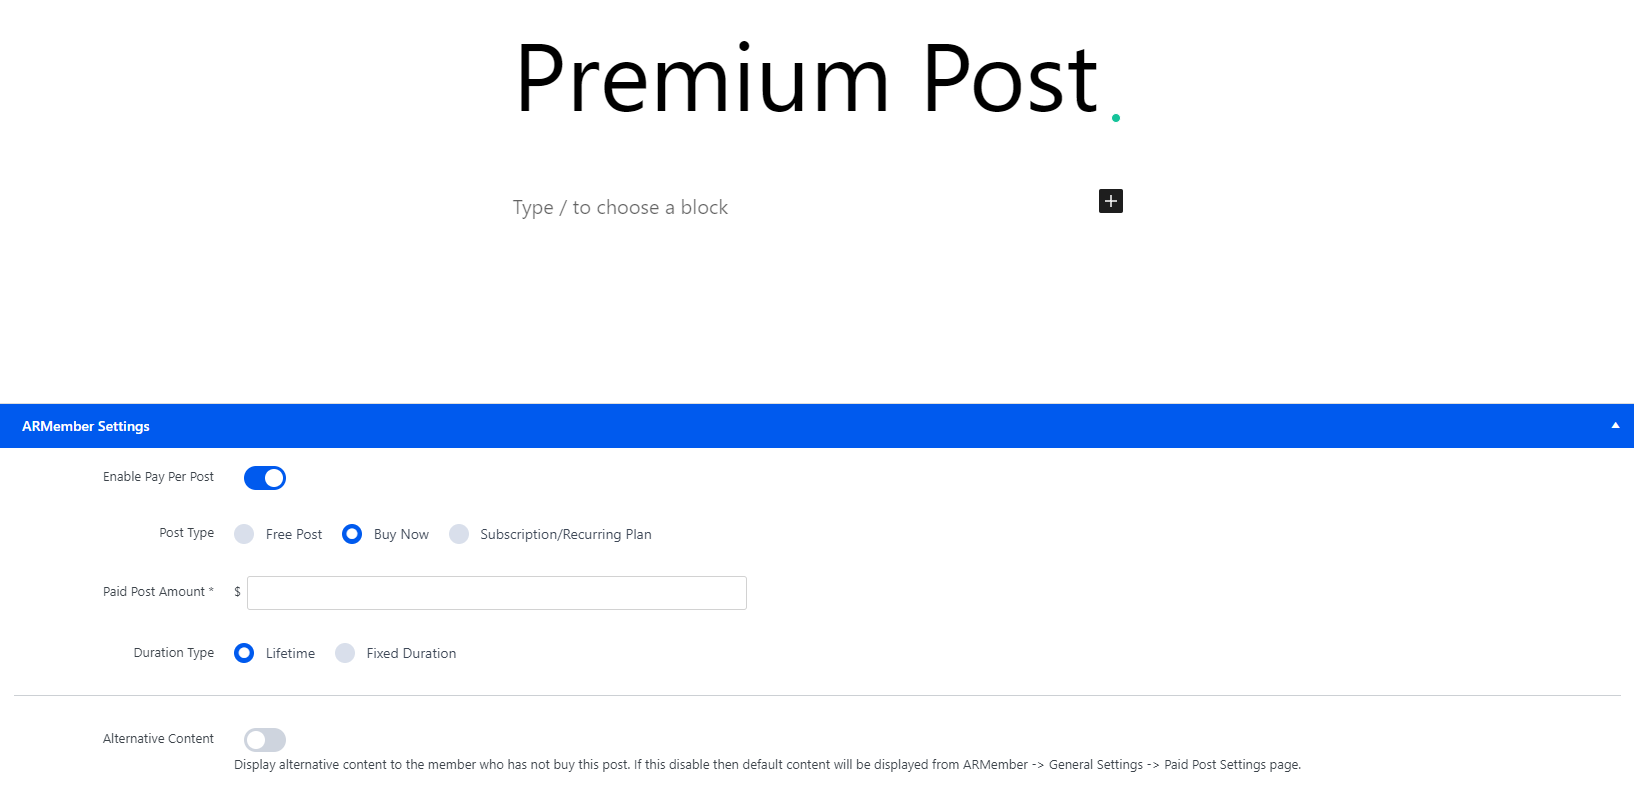
How to create a paid post from WordPress
ARMember also provide a facility to add the Paid Post from the WordPress Pages/Posts directly. In order to add this, you can navigate to Admin Panel ⇾ Pages/Posts ⇾ Add/Edit New Page/Post.
Here on the end of the page, you will be able to see the ARMember Settings. Directly create a paid post from there.
Configure Paid Post Setup form
To create this, go to the WordPress Panel ⇾ ARMember ⇾ Configure Plan + Signup Page
Click the button on the top right labeled + Add New Setup to create a new setup form for your site.

To configure the Paid Post Setup form, you need to select Paid Post Setup for the Setup Type option, as you can refer to the above screenshot. The other configuration is the same as Membership Plan Setup.

Let’s see each steps in detail:
Setup Name
Before you start with integration, you will be asked for a name to be assigned to your paid post setup at Configure Plan + Signup Page.
Basic Configuration
- Select Your Setup Type
- Select Your Registration Form
- Select Payment Gateways
In the first step, you can integrate your paid post. Here you have to select Paid Post Setup type.
Now integrate your registration/signup form. You have a dropdown which contains all your registration forms, select one of them. Form will not be displayed in case, if user is already logged in, then signup form will not be displayed so user no need to fill the form again.
You will have a list of all payment gateways which are activated from payment gateways general settings. Select payment gateways through which users can do payment for relevant paid post. You are able to Select Payment Gateway Layout.
Important Note: For, Recurring Paid Post type Payment Method will always consider as Semi Automatic (Manual) Payment Method.
Page setup for Paid Post
In order to show up this paid post setup form you need to map the page. Once you can done creating the paid post setup form then you will get a shortcode for it. Simply copy this shortcode and paste it to a page.
Further, navigate to the ARMember ⇾ General Settings at Page Setup tab select a page in which shortcode of Paid Post Setup form is available.

Paid Post Setting
In order to check the paid post settings navigate to ARMember ⇾ General Settings ⇾ Paid Post Settings tab at left side of the screen from here you can do setting for Paid Post.

You can change the parameter name which is display in URL from Paid Post URL Parameter name option.
Using Default Alternative Content option you can set the content to be display if the Paid Content is not visible for the user. this alternative content only display if the Alternative Content option is not enable in ARMember ⇾ Manage Paid Posts ⇾ Add/Edit Paid Posts.
Add Buy Now Button for Front-end side
If you have done the configuration as described above then your setup is almost ready. Now you need to set the Buy Now button for the particular Post/Page from where users can buy your premium content. So lets see that how Buy Now button can be set.
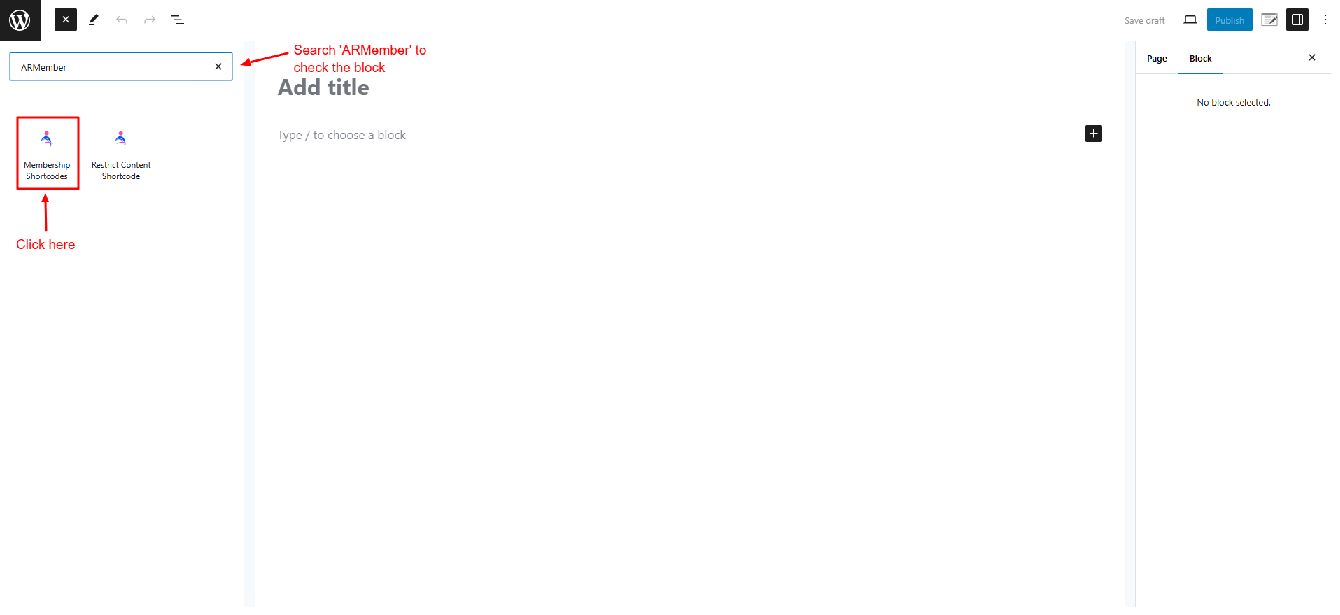
Go to WordPress Admin Panel ⇾ Add/Edit Post/Page. Search for Membership Shortcodes block OR from Gutenberg Editor Add Blocks ⇾ ARMember Blocks ⇾ Membership Shortcodes button.
After that Select tab Action Buttons from the left sidebar and select “Paid Post Buy Now Button” from “Select Action Type” dropdown.

Next option is to set the redirect URL for the Buy Now button. so when users click on button it will redirect users to Setup Page of Paid Post. this option is optional, so if you don’t enter the redirect URL then by default ARMember redirect users to the page which is set in ARMember ⇾ General Settings ⇾ Page Setup tab.
After that you can select the Link Type. There you can see 2 type of link available: Button and Link. You can select one of the link type from the Link Type dropdown.
You can also set the text for Buy Now button/link as you want. If you want to customize the button style then you can add the custom CSS for Buy Now button using Link CSS option. That’s it.

Now everything is ready. When users visit your paid post then it will show the Buy Now button instead of the content of your post.

Paid Post Payment History

From the above screen, you can see the Payment History of Paid Post from Admin Panel ⇾ ARMember ⇾ Payment History. You can filter the transaction history by Payment Gateway, Payment Type, Subscription, Status, and Date range. You can view the Payment detail by clicking on View Detail the icon and from the same location, you can delete the payment history. Also export the Paid Post payment history in CSV file.
Paid Post history in View Member Detail
The admin can check the Paid Post History and Paid Post Payment History directly from the ARMember ⇾ Manage Members page at any member’s View Member information.
Paid Post History shows the history of purchased paid posts by the member and Paid Post Payment History shows the Payment History of purchased paid posts.

Paid Post Reports
From the ARMember ⇾ Reports ⇾ Paid Post Reports. Admin can check all paid post details and with filters and charts here. Also the admin can export the CSv at the paid post reports.
Allot paid post along with membership plan.
ARMember allows an exclusive facility to add the paid post to be assigned to the members upon purchasing plan as a part of plan access, so with this facility the members who purchase that plan will be able to access the paid posts which are allowed at the plan and the plan purchase members will not need to purchase the paid post separately.
Easily select one or more posts at the plan creation and accordingly that post will be assigned automatically, learn about setting the paid posts at the plan.
Assign Paid Post by Admin
There are 2 different ways to assign a paid post to the member.
- Admin can assign the post to the user manually. From
ARMember⇾Manage Members⇾Add/Edit Members.

- The other way is, you can directly assign a paid post from the
ARMember⇾Manage Memberspage and here you will be able to check the Paid Posts column, and you can directly assign a post from there itself.


Paid Post Purchase with WooCommerce
ARMember does provide a facility to purchase Paid Post using WooCommerce too, so you can allow members to purchase paid post with WooCommerce Payment Gateway as well. For that, you need to activate WooCommerce Integration addon from ARMember ⇾ Addons page. You can see more details about Paid Post through WooCommerce.
Redirection after paid post purchase.
ARMember does provide a facility to set the redirection after paid post purchased. There are two different ways of redirection, once is while adding the shortcode you can add the specific URL as per your requirements.
The another way is one can set the redirection from the ARMember ⇾ General Settings ⇾ Redirection Rules tab, at the After Obtaining Paid Post Redirection Rules.

After successfully purchase of Paid Post will be redirected to the specific page/specific URL/same page.
Important Note: If members purchase free type post and if the member is logged in then free post will be automatically purchased, no need to submit setup form and redirected to purchased paid post page.
Email Notifications For Paid Post
You can send the following email notifications. All the events are automatically handled by ARMember plugin. To check out the email notifications, navigate to ARMember ⇾ Email Notifications ⇾ + Add New Response.
On New Paid Post Purchase
This event will trigger when member subscribe to new Pay Per Post.
On Renew Paid Post Purchase
You can send notification to user for renew subscription regarding their Paid Post.
On Recurring Paid Post Purchase
This event will trigger when member subscription cycle payment successfully done.
On Cancel Paid Post
You can send a notification to the user when their Paid Post subscription gets canceled.
Before Paid Post Expire
You can send notification before member’s Pay Per Post expire according your requirement. You have options to set when this notification will be sent. Like send notification before number of days, weeks, months or years.
On Expire paid post
This event will trigger when member’s Paid Post going to expire.
Shortcodes
Display List of Paid Post to member
[arm_purchased_paid_post_list]Display Paid Post Payment Transactions to member
[arm_paid_post_member_transaction]For more information to configure about shortcode please click here.