How to Build a Membership Website with WordPress?
Published in How To
September 9, 2023
7 min read

I, Brian Denim, an experienced WordPress developer and a technical content writer, will today show you a comprehensive guide on how to build a membership website with WordPress CMS. I’ve spent a significant amount of time developing a leading WordPress membership plugin, and today, I will guide you the best based on the experience I gained throughout my career.
No matter whether you’re a beginner or an avid WordPress developer, I am here to share with you the basics to advance steps of creating a membership/subscription site on one of the most renowned CMS, WordPress. So, are you ready to plunge into this journey with me? Let’s get started!


 Most WordPress membership sites need to share exclusive members-only resources or other documents with their members. For example, you might need to share member downloads, videos, resource packs or artwork with members. You can easily do this with the Document Library Pro plugin by Barn2.
Document Library Pro lets you add documents and any other type of resource to your WordPress members area. It supports any file type, and you can either add the files to the WordPress Media Library or host them elsewhere such as Dropbox or YouTube.
You can either add the documents yourself, or add a ‘Submit document’ form to the members area so that members can submit resources themselves.
Once added, the documents appear in a searchable document library. To restrict access to it, simply edit the document library page and use the membership plugin to ensure that only logged in members can see it.
How to Build a Membership Website with WordPress?
Explore these simple & easy steps to create a WordPress membership site.- Choose a WordPress-friendly web hosting provider, for example, BlueHost, Hostinger, Hostgator, etc.
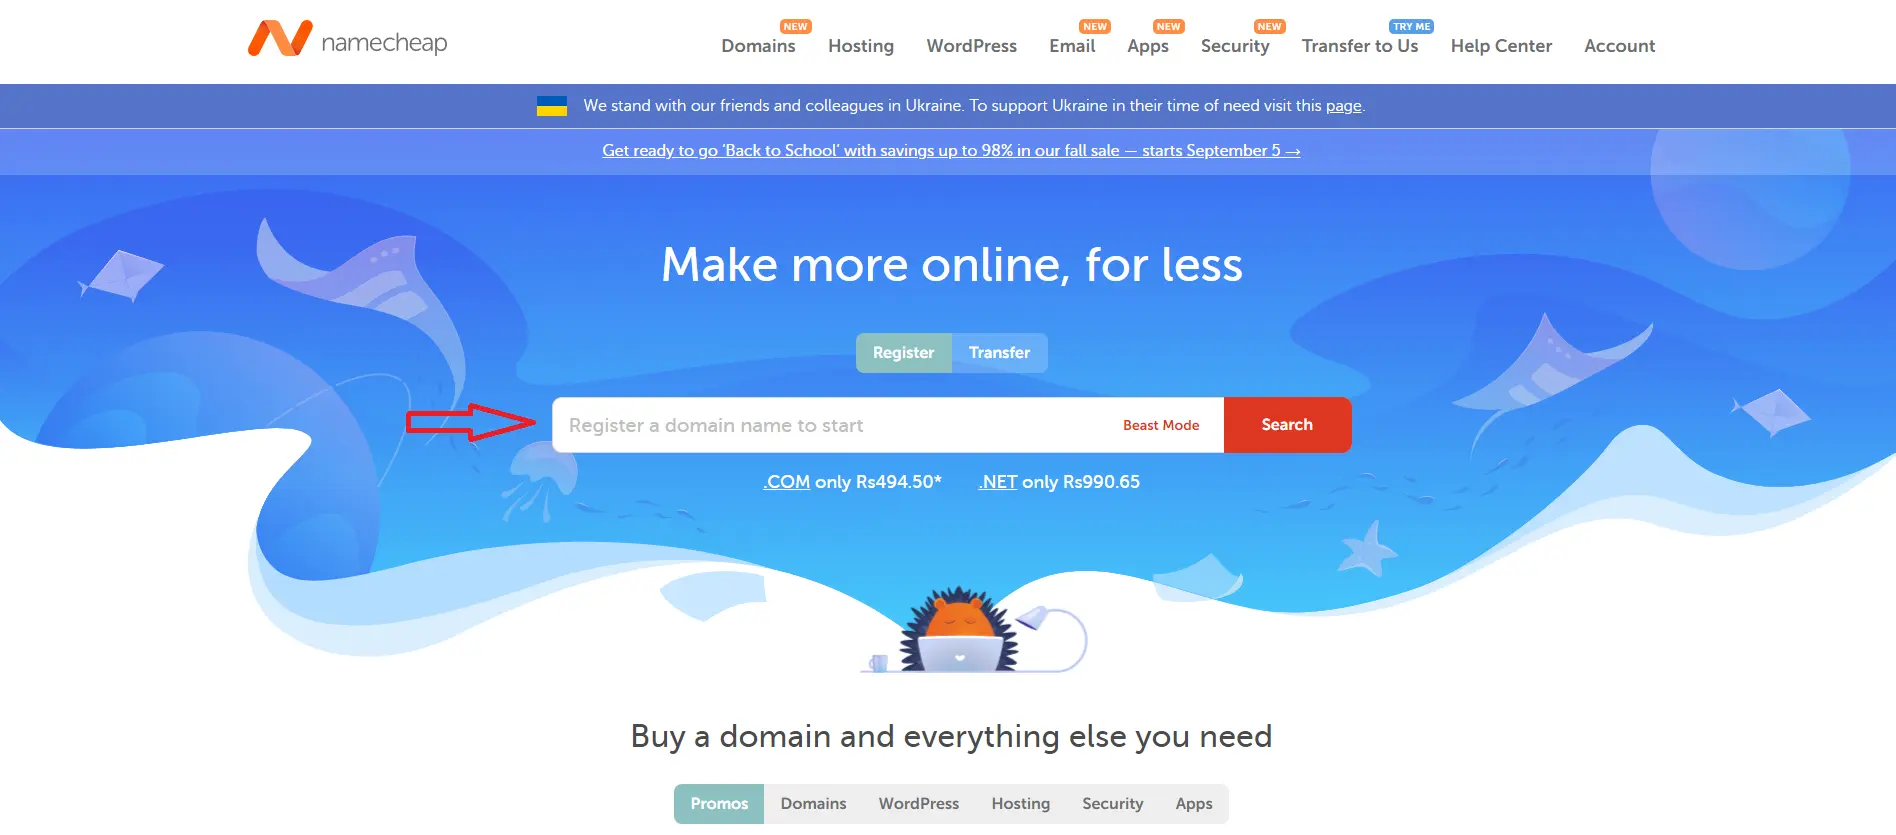
- Go to the domain registrar website like Namecheap or GoDaddy, check your preferred domain availability & purchase it.
- Login to your hosting account and access its cPanel, Plesk, or other custom control panel.
- Install WordPress using the auto-installer option provided by your hosting provider. To explain, we have taken the example of Hostinger web hosting provider.
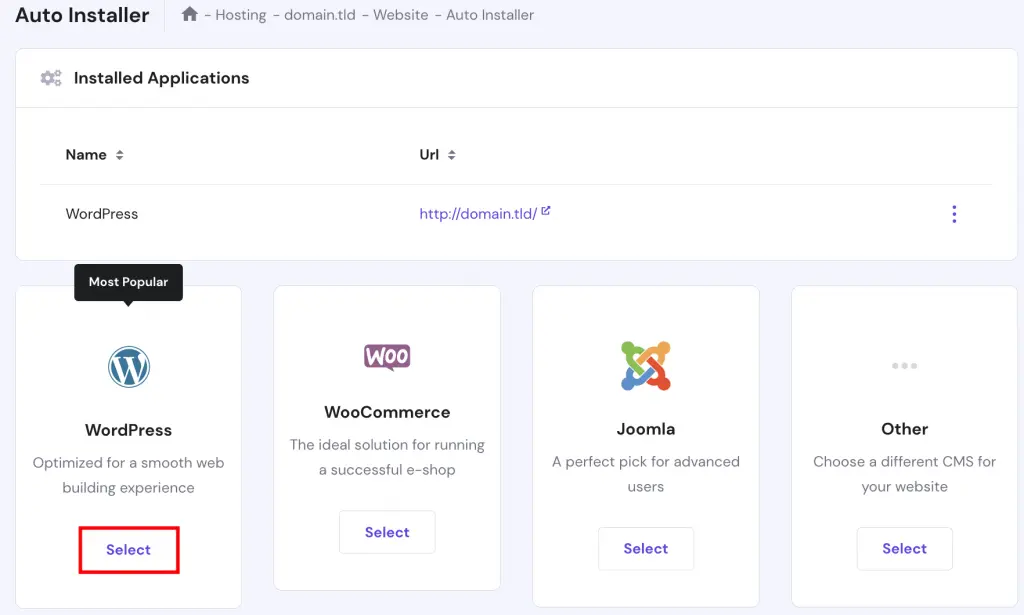
- Here, you can find a step-by-step guide on installing WordPress using the auto-installer in Hostinger web hosting. If you’re using any other web hosting service, you can easily find its guide by simply searching it on Google.
- Once you’re done with the WordPress installation, it’s time to install the best WordPress theme and plugin for the membership website. Our favourite WordPress themes are Astra, Divi, and OceanWP; however, you can check out more options from WP Astra’s guide on the best WordPress theme for membership website.
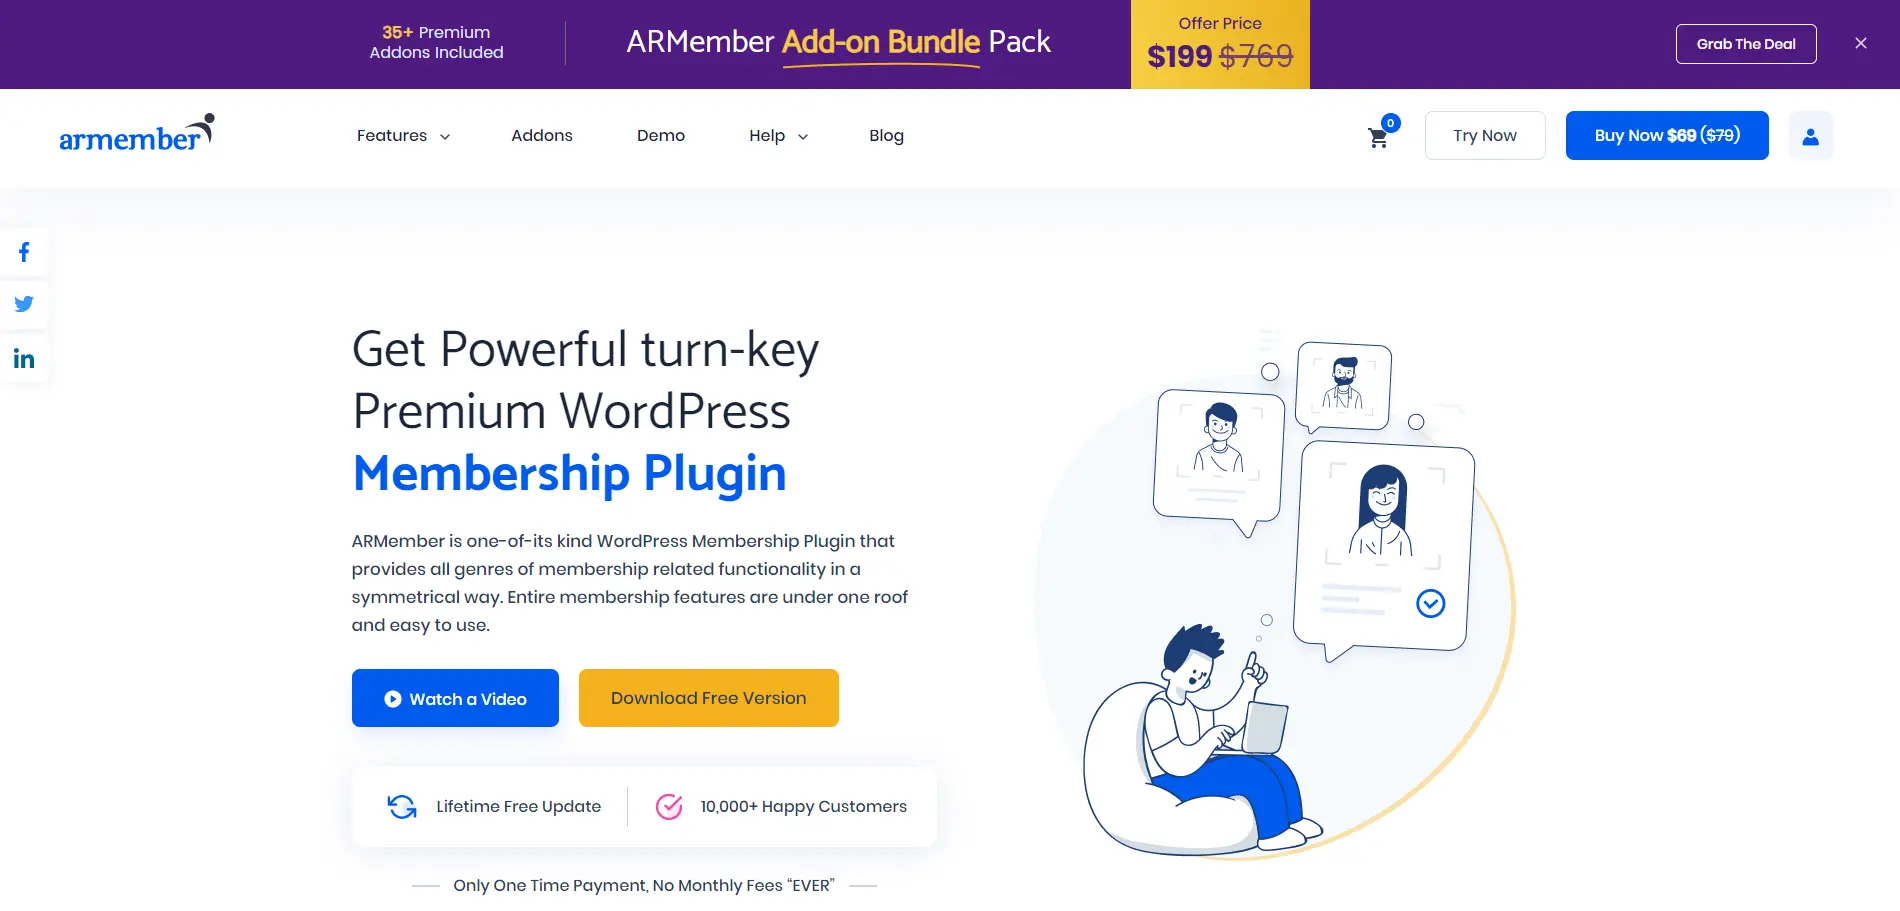
- Now it’s time to choose and install a membership plugin, and today, I will guide you in creating a membership website on WordPress using one of the most powerful and my favorite WordPress plugins, i.e., ARMember.
Step – 1: ARMember Plugin Installation & Activation
- ARMember is a freemium plugin whose lite version is available on the WordPress plugin repository. If you want to access its premium features, addons, and integrations, you can buy it on Codecanyon.
- In this guide on how to build a membership website with WordPress, we will go with the ARMember PRO plugin and develop an all-inclusive membership site. So, first, install ARMember premium in your WordPress dashboard by following Plugins > Add New > Upload Plugin in your WordPress dashboard.
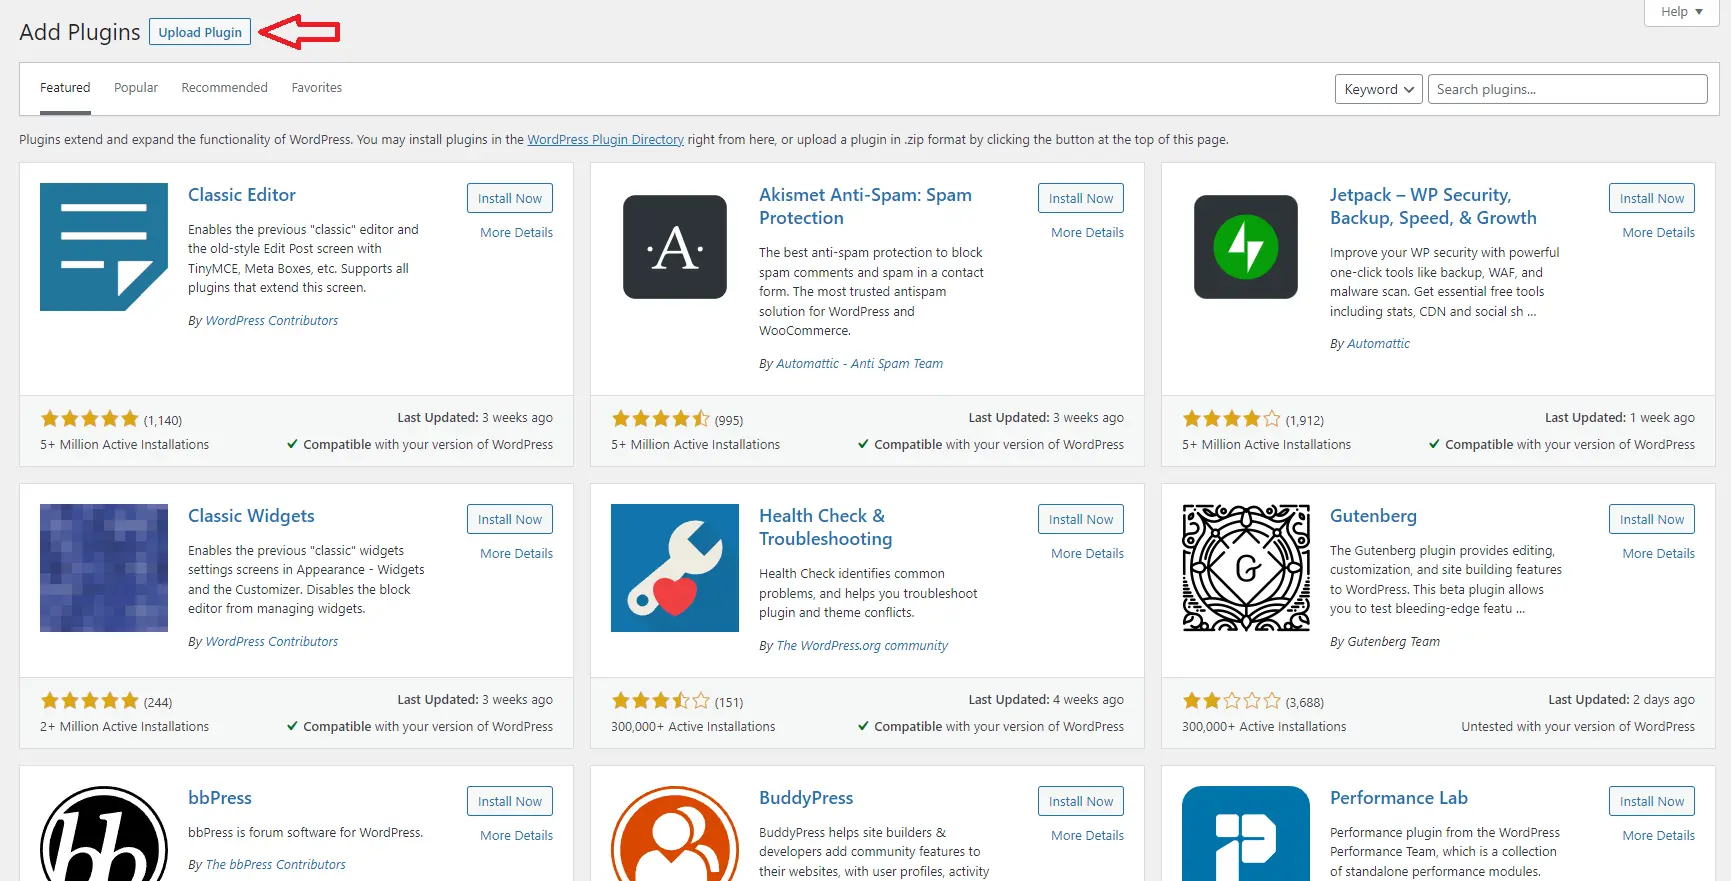
- Once you install and activate the ARMember plugin, you will find the ARMember menu in your WordPress dashboard.
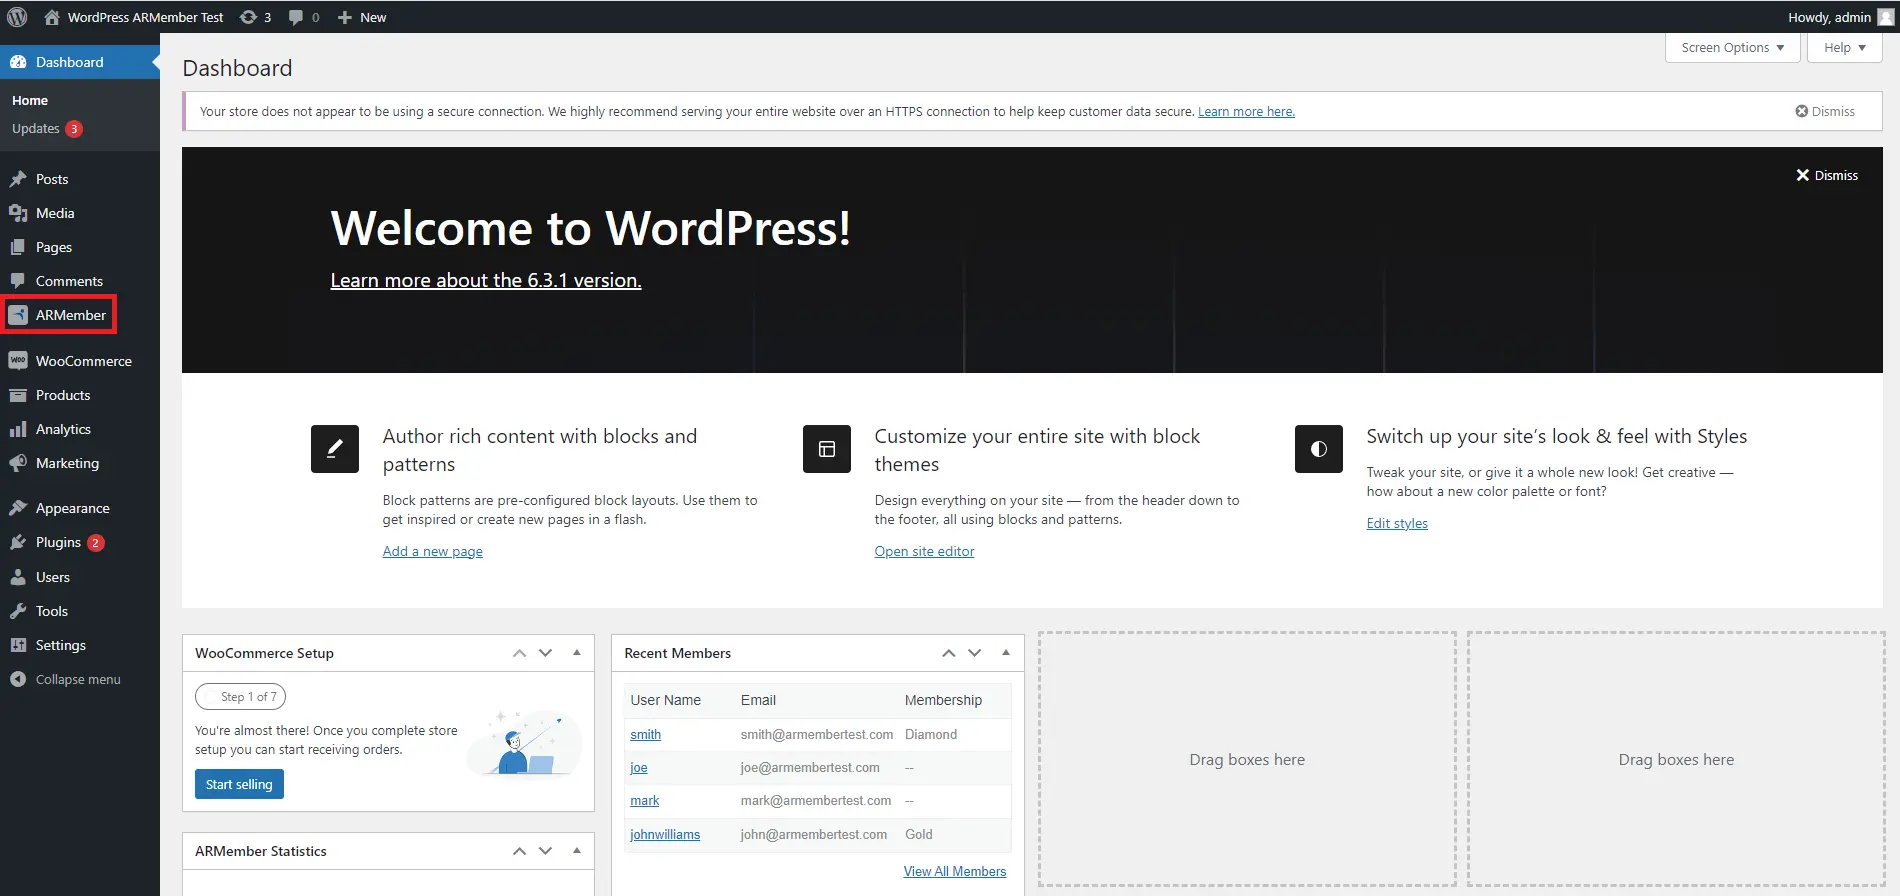
Step – 2: ARMember General Settings Options
- Now configure basic settings like payment gateways, email templates, currency, etc., from ARMember general settings following ARMember > General Settings.
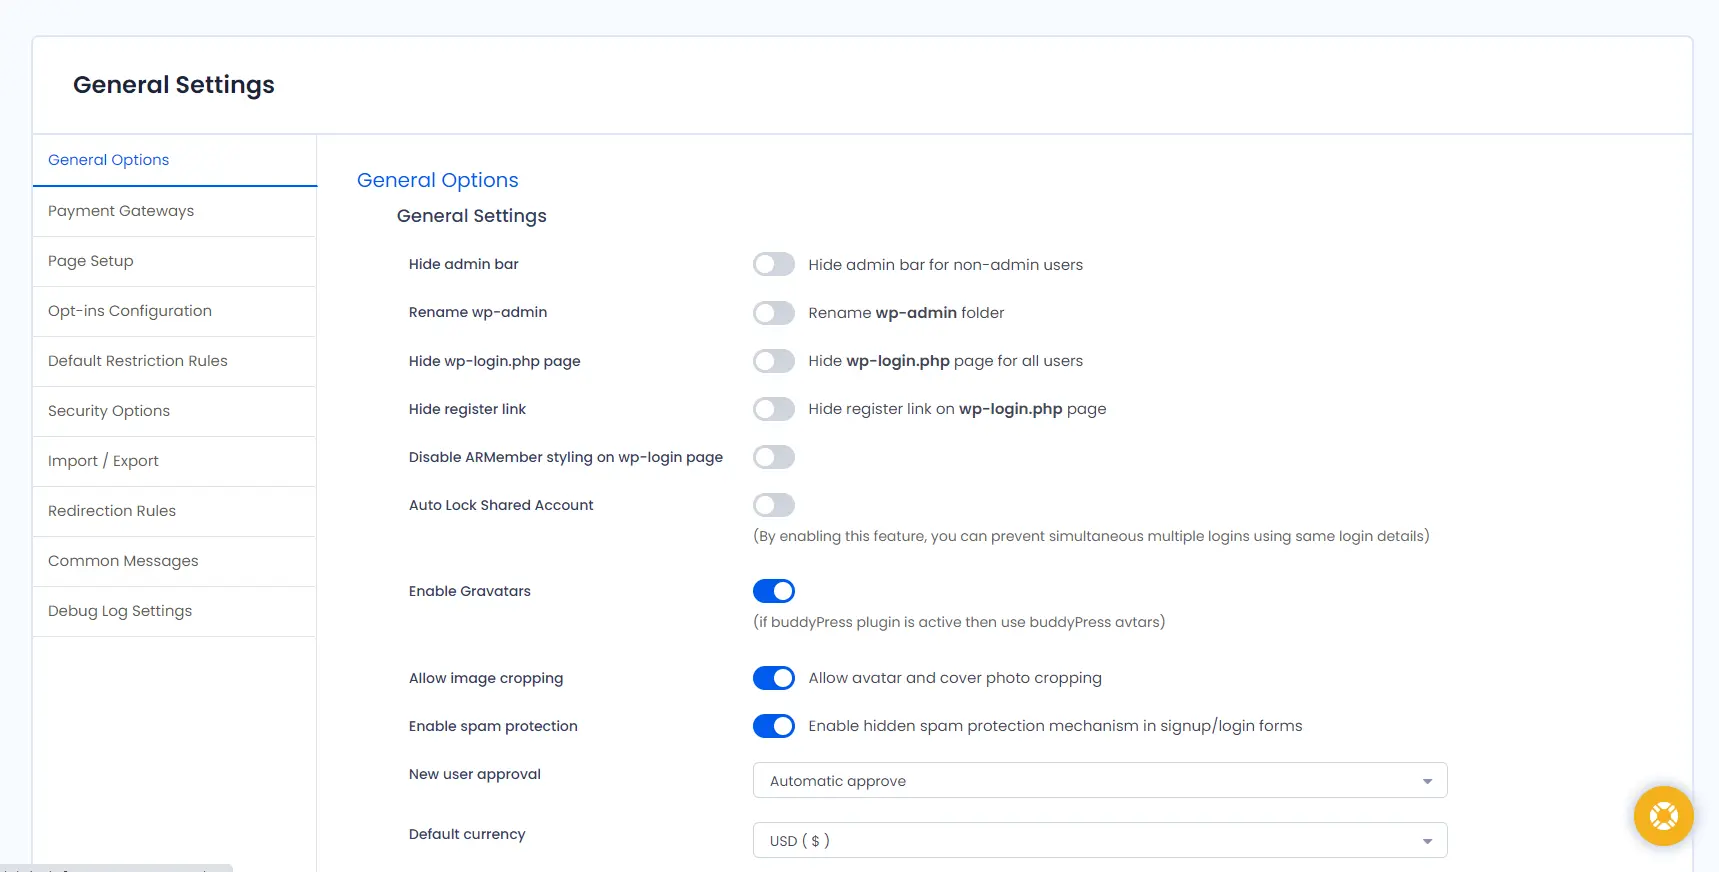
Step – 3: Manage Existing & Add New Membership Plans
- Navigate to ARMember > Manage Plans options in the left sidebar of your WordPress dashboard and click the “Add New Plan” button.
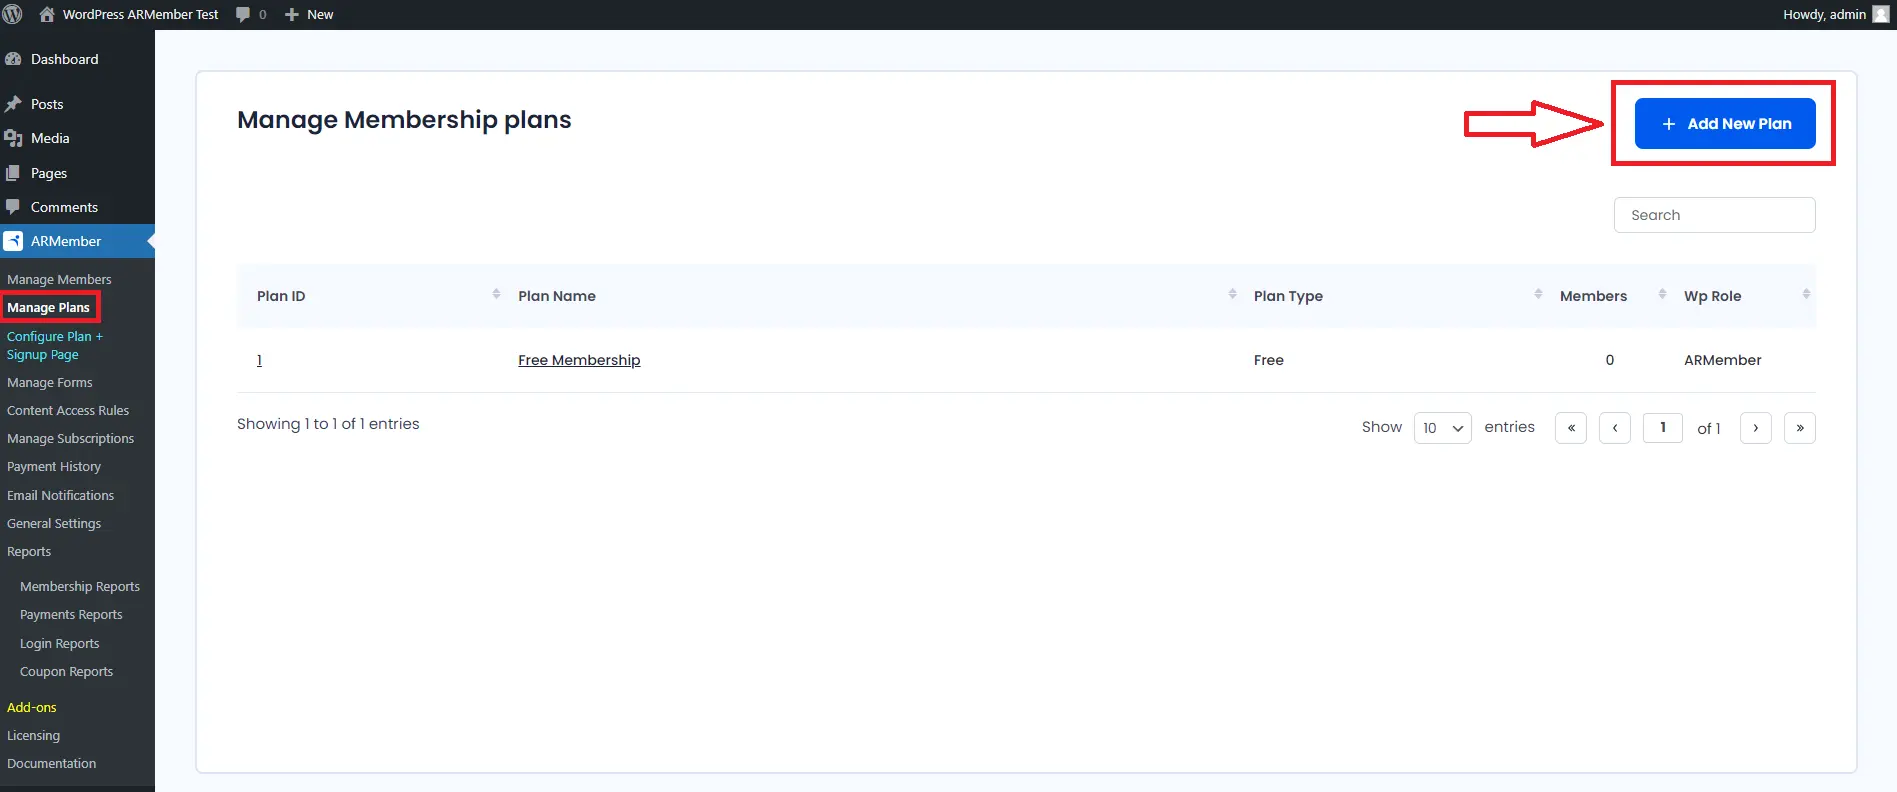
- When you click on the “Add New Plan” button, it will ask you for details like plan name, description, member role, inherit access rules of membership plan, plan type, etc. Add all the information and click on the “Save” button.
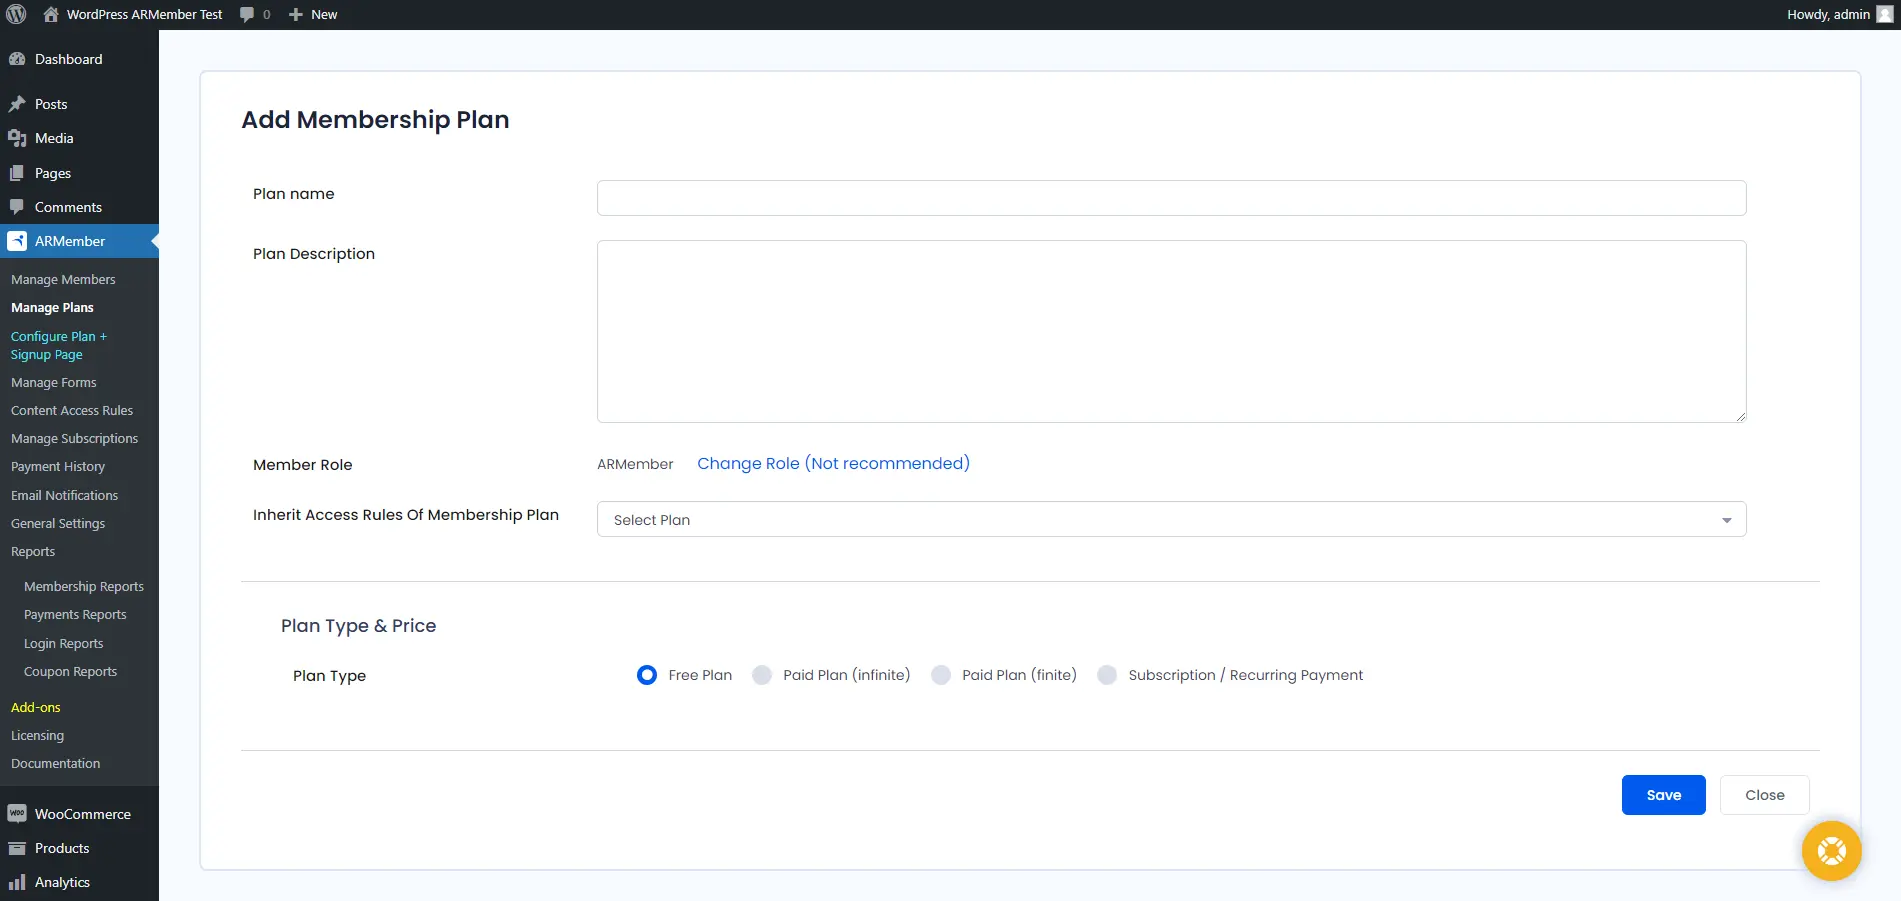
- For detailed information about membership plans, go through its comprehensive documentation or watch this YouTube video for further guidance.
Step – 4: Signup & Login Forms
- Now, it’s time to design signup and login forms. ARMember comes with built-in forms; however, you can edit them or create new ones as well.
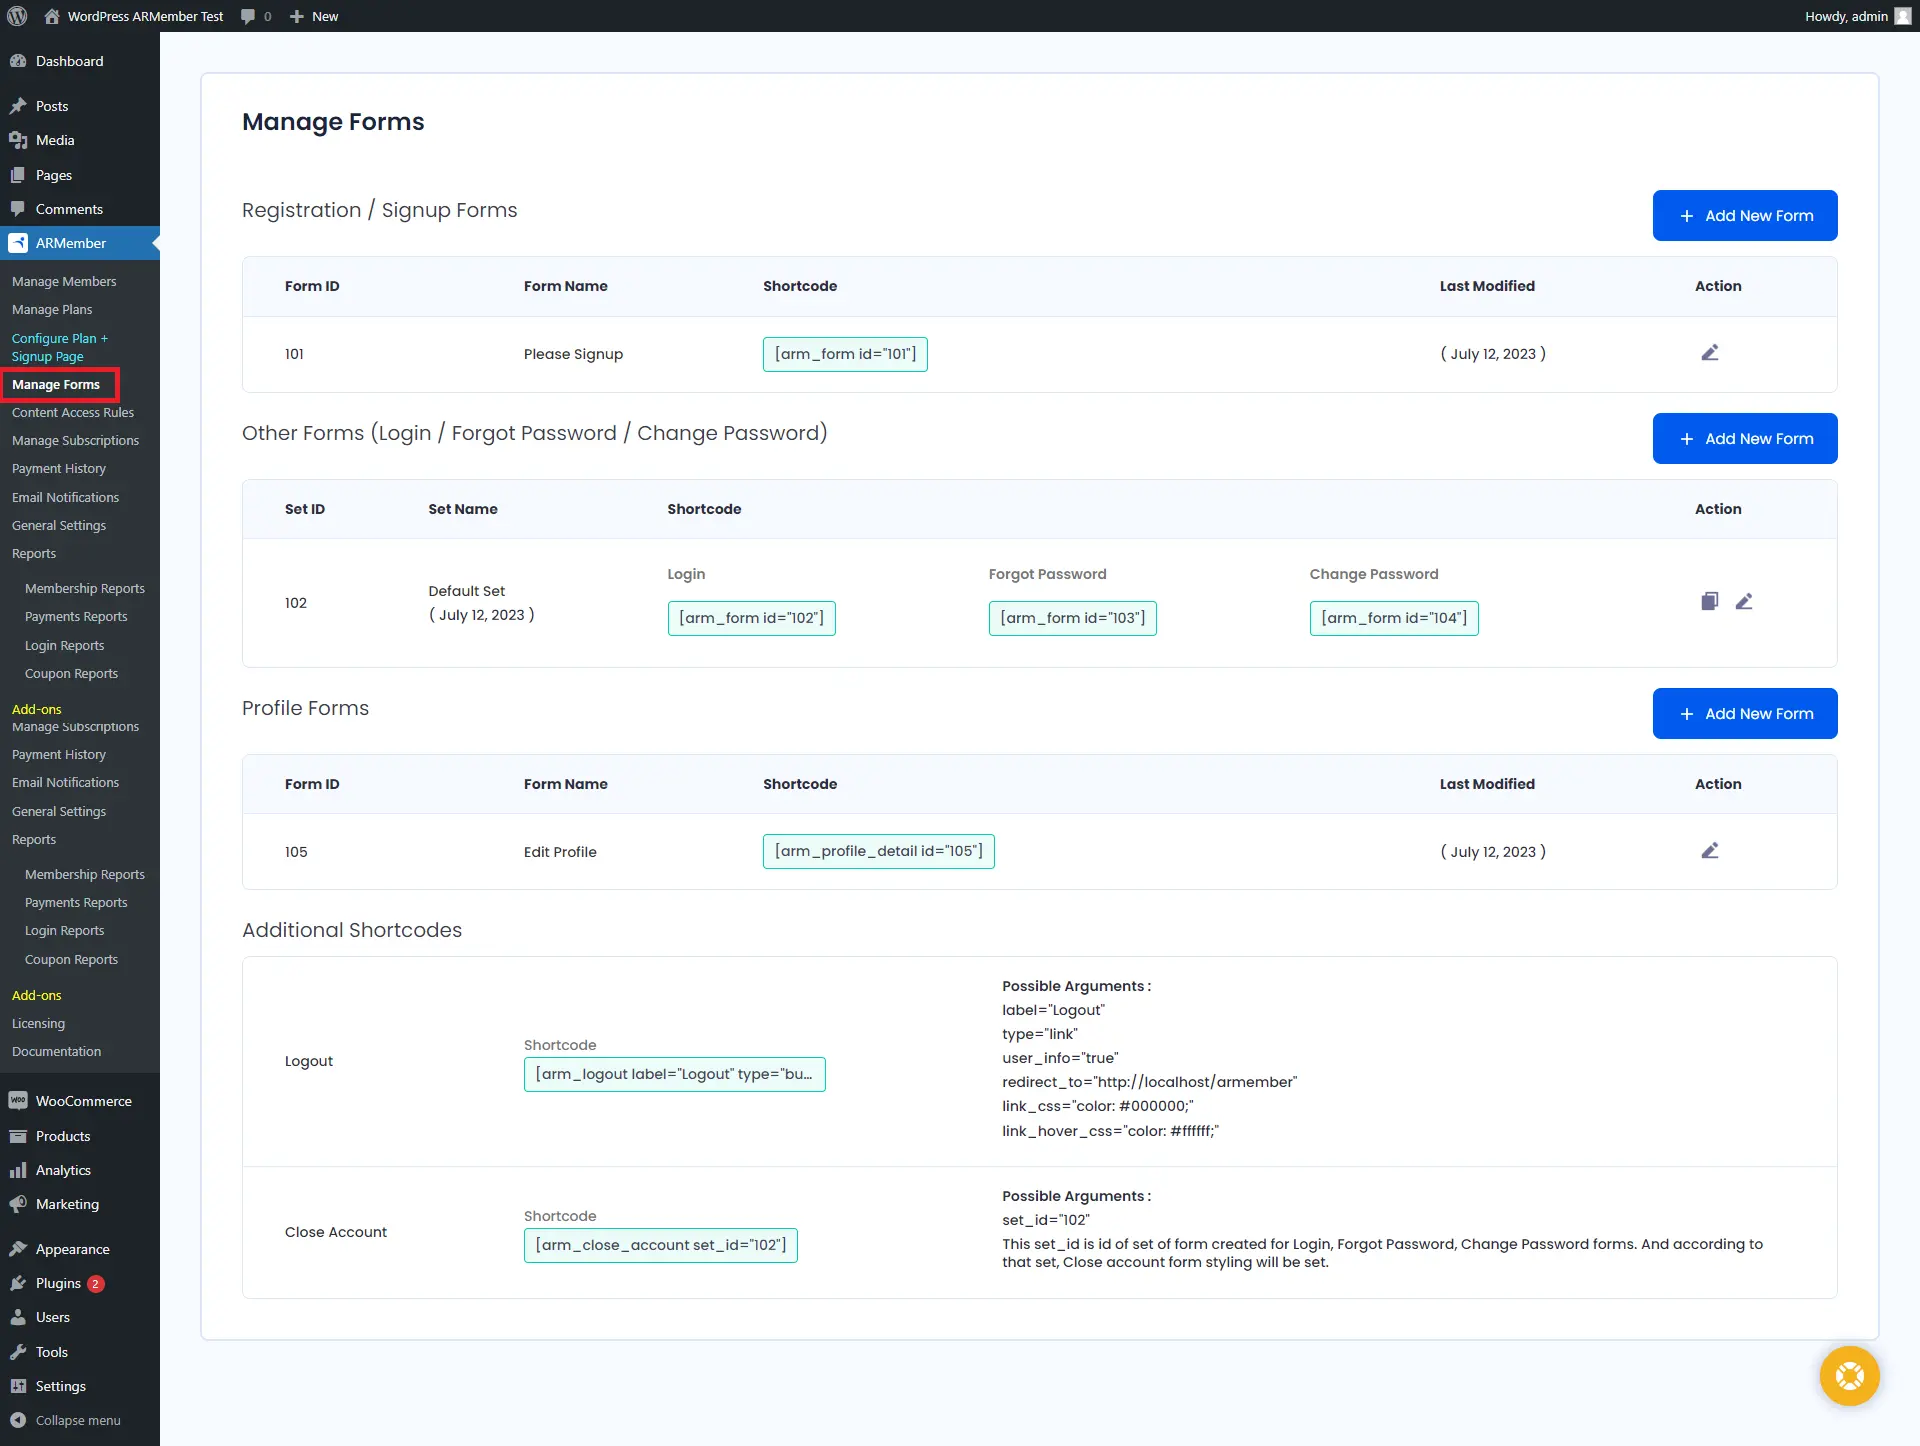
Step – 5: ARMember’s Membership Setup Wizard
- ARMember boasts a built-in membership setup wizard using which you can easily set up the membership page with which you can easily integrate membership plans, registration forms, payment gateways, coupons, etc.
- For this, go to the ARMember > Configure Plan + Signup Page menu in your WordPress dashboard, where you will find exhaustive membership page settings options under a single window. For its detailed guidance, you can explore these documentation pages: (1) Basics of Configure Plan + Signup Page & (2) Steps for Configure Plan + Signup Page
Step – 6: Set Content Access Rules
Content access rules setup is the core feature of the ARMember WordPress membership plugin. With this functionality, you can restrict access to full or partial WordPress pages, posts, categories, tags, taxonomies, etc. Check out the detailed content access rules documentation for its step-by-step setup.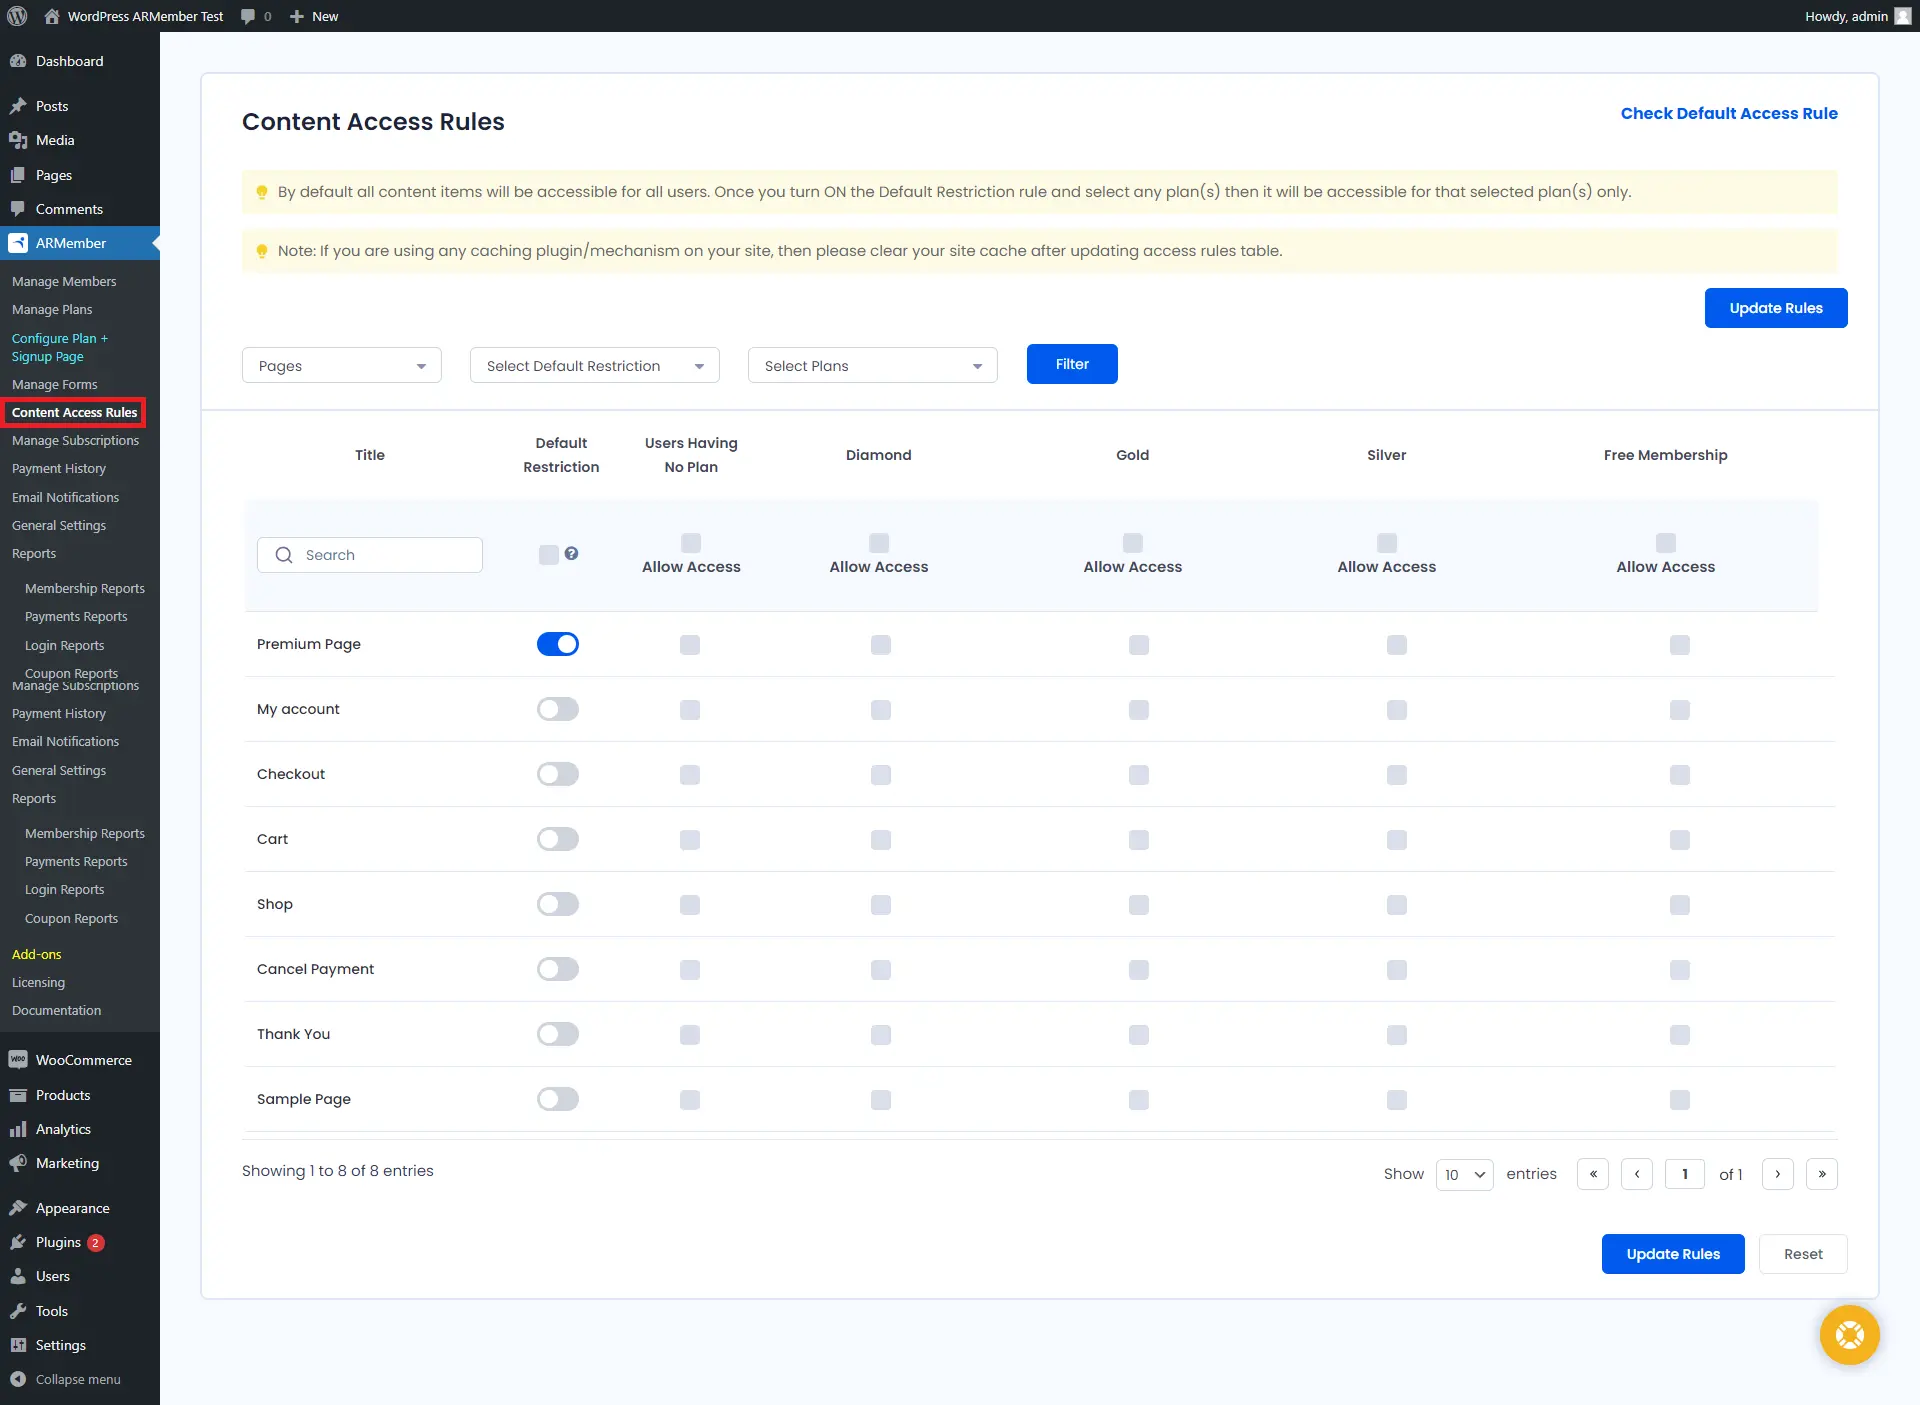
Step – 7: Add a members-only resource directory
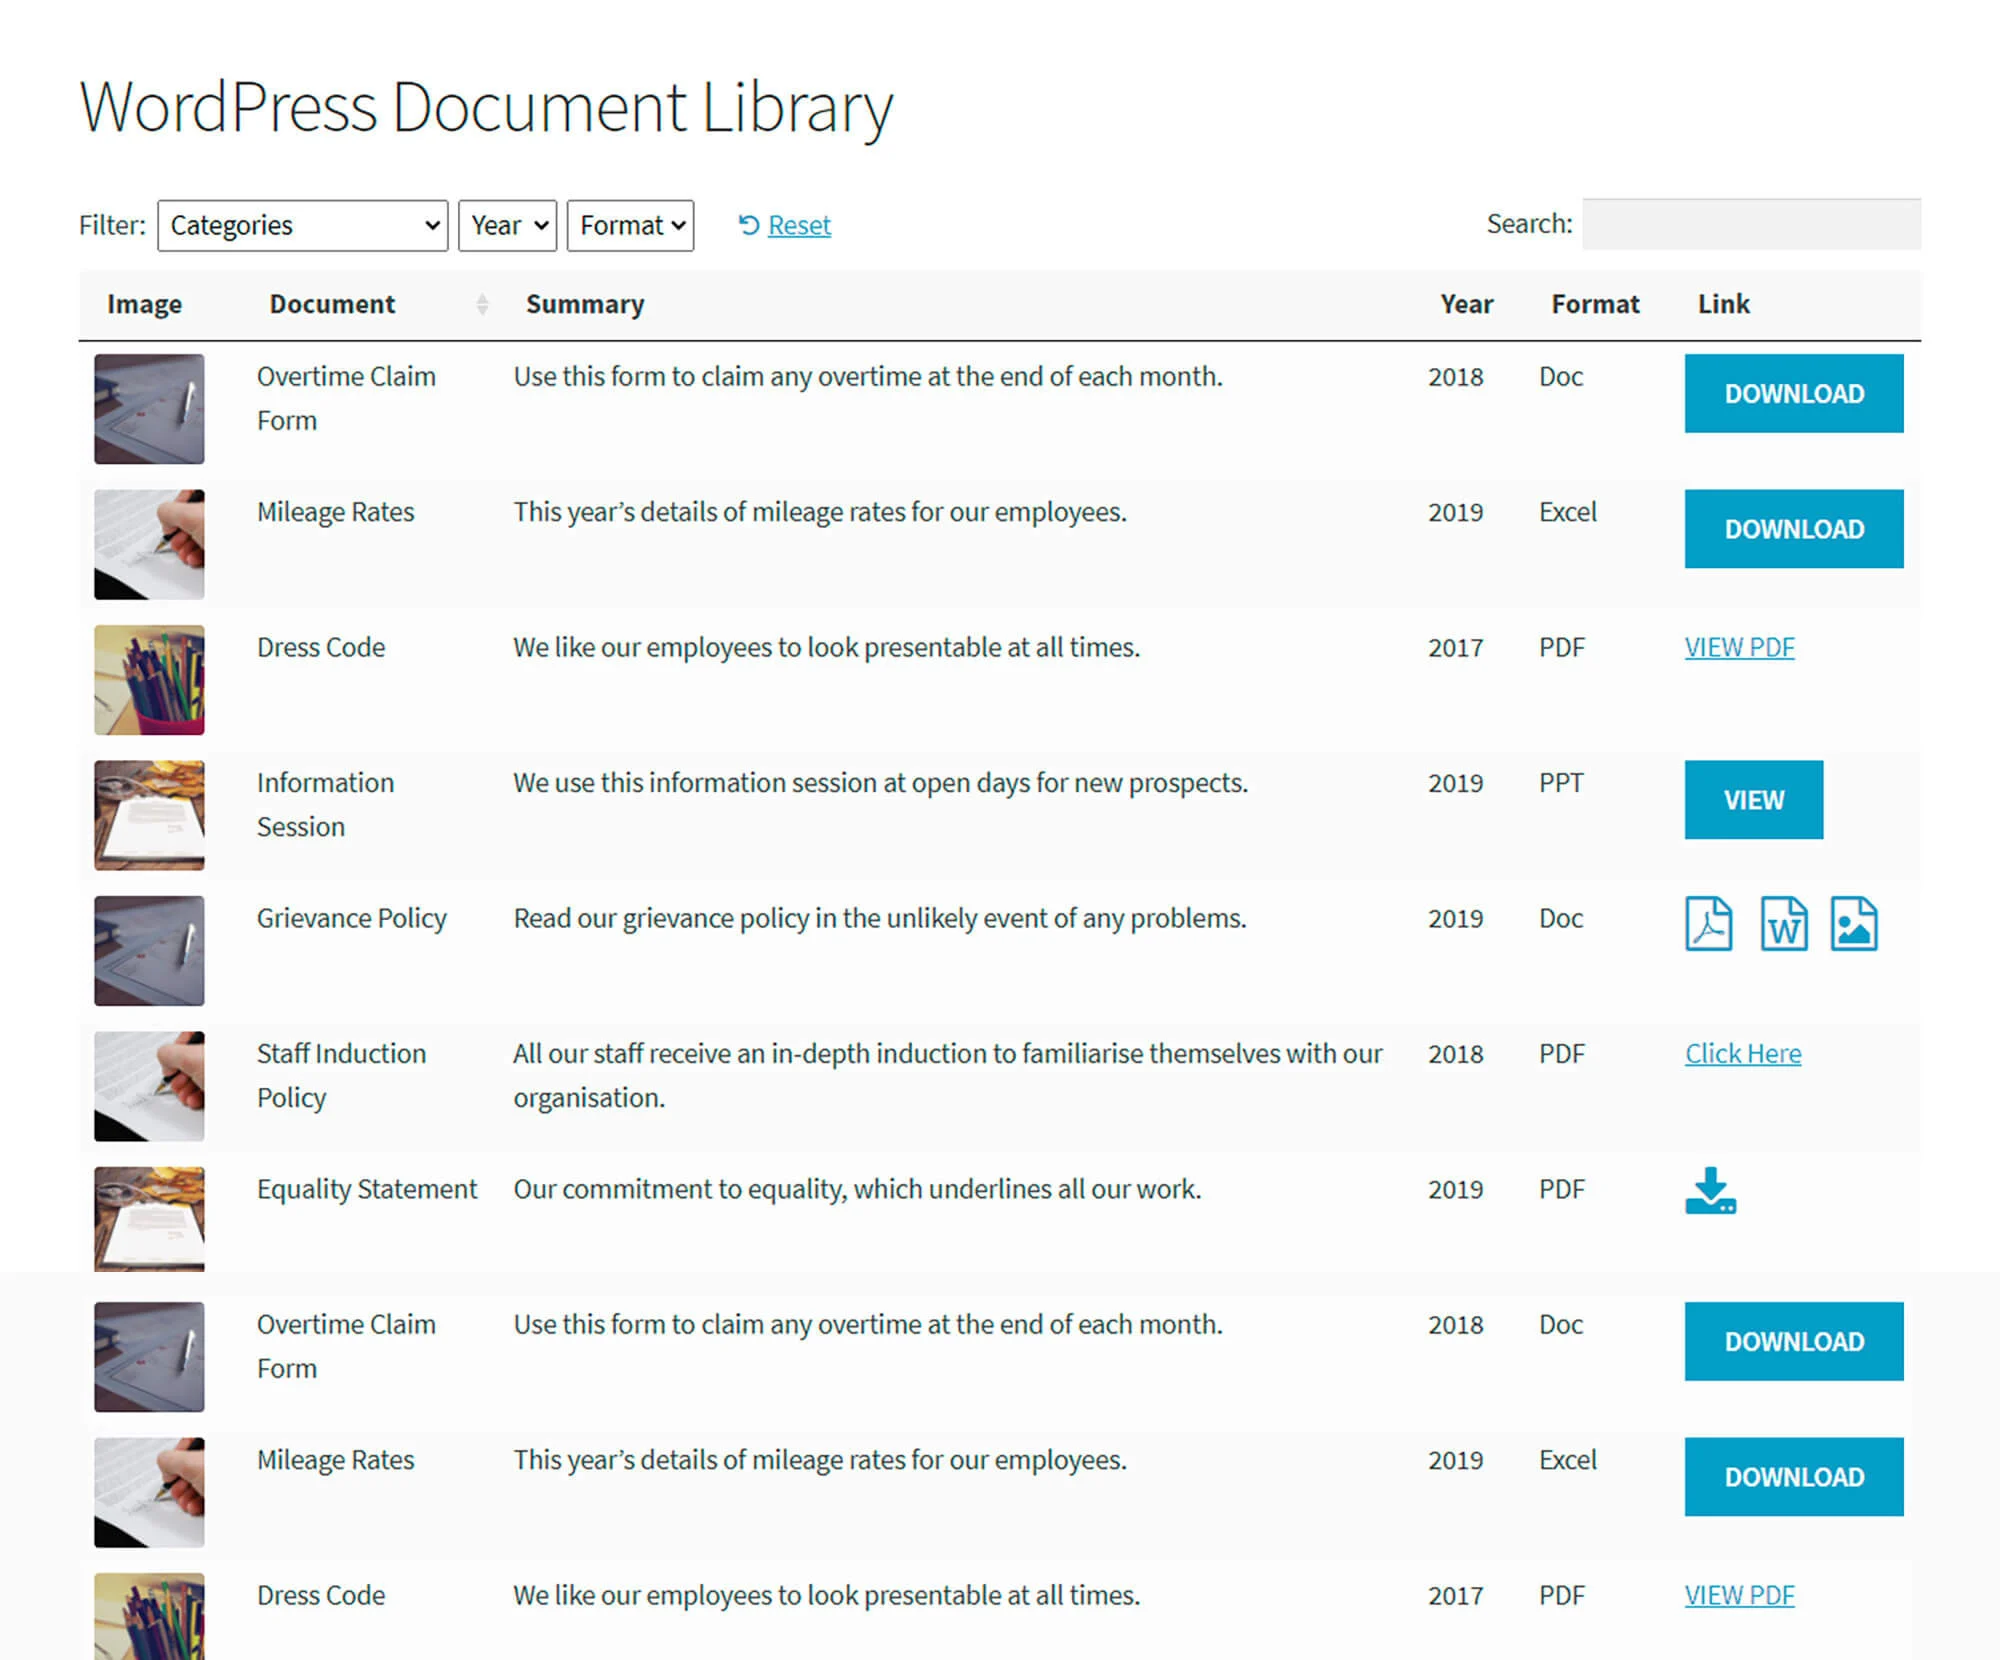 Most WordPress membership sites need to share exclusive members-only resources or other documents with their members. For example, you might need to share member downloads, videos, resource packs or artwork with members. You can easily do this with the Document Library Pro plugin by Barn2.
Document Library Pro lets you add documents and any other type of resource to your WordPress members area. It supports any file type, and you can either add the files to the WordPress Media Library or host them elsewhere such as Dropbox or YouTube.
You can either add the documents yourself, or add a ‘Submit document’ form to the members area so that members can submit resources themselves.
Once added, the documents appear in a searchable document library. To restrict access to it, simply edit the document library page and use the membership plugin to ensure that only logged in members can see it.
Step – 8: Test Your Membership Site Flow
In the end, you shouldn’t overlook the membership flow testing by signing up as a test user on your membership website and checking whether everything from the payment gateway process to content restriction rules is working fine for all membership plan holders.Alternatives to WordPress For Membership Website Development
WordPress undoubtedly dominates the website development market, powering around 43% of worldwide websites; however, you can opt for any other membership Website Builders and platforms for membership/subscription-based websites. Some of my recommended ones are as follows:- Wix
- Weebly
- Shopify
- MemberSpace
- Squarespace
- Kajabi
- Podia


Leave a Reply
You must be logged in to post a comment.