“Dripping” content is the process of delaying the release of content in your membership site for site members. ARMember includes full drip/periodic content functionality which allows you to reveal your content periodically. This is provided by an inbuilt module of ARMember called “Drip Content”.
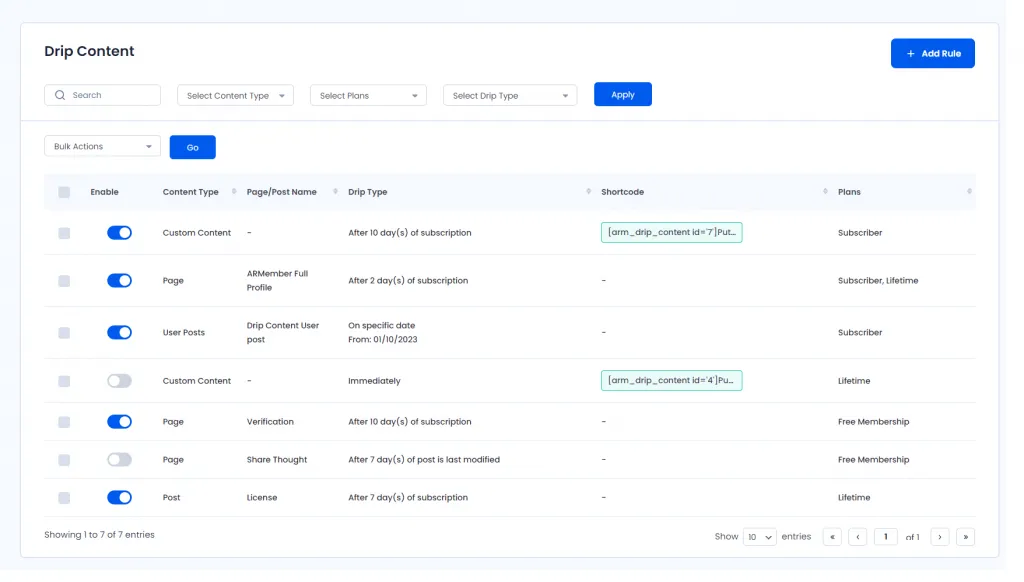
At the Drip Content Tab – you will find a grid listing to manage all drip content rules with columns as shown in the below image.
1. Status – Provides switch to ENABLE or DISABLE rule.
2. Type – Type of Post / Page / Custom Post / Custom Content.
3. Name – Type of Post / Page / Custom Post / Custom Content.
4. Drip Type – Drip rule type.
5. Plans – Plan names (Drip Rule will be appped to members of these plans).
6. Members – Number of matching members who will be affected by the rule.
You can create drip rules by clicking on the Add New Rule button. Also you can update existing rules by clicking on the Edit Rule icon.
Types of Drip Rules
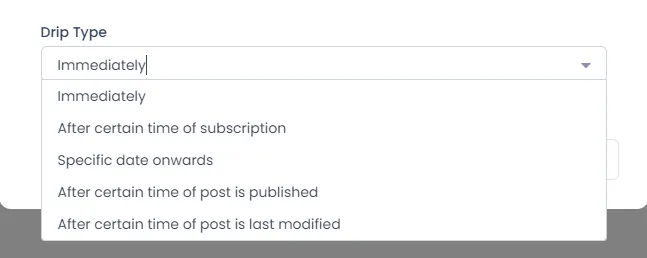
You can add five types of drip rules:
1. Immediately
This type of drip rule will be applied immediately after users subscribe to the relevant plan and also to users already subscribed to that plan.
2. After a certain time of subscription
This type of drip rule will be applied to members of the selected plan after a number of days from their subscription start date..
3. Specific date onward (range)
This type of drip rule will be applied to selected plan members between selected date ranges. If you select From Date & didn’t select To Date, this rule will be applied from “From Date” to “Infinite Time”.
4. After certain time of post is published
This type of drip rule will be applied to selected plan members after ‘x’ days of selected post/page is published.
5. After certain time of post is last modified
This type of drip rule will be applied to selected plan members after ‘x’ days of selected post/page is modified.
6. Drip Rule for Partial Content of a page/post/custom posts
This setting becomes very useful when you don’t want to drip full post or page content. So, if you want to drip some specific block of content, this option will work for you.
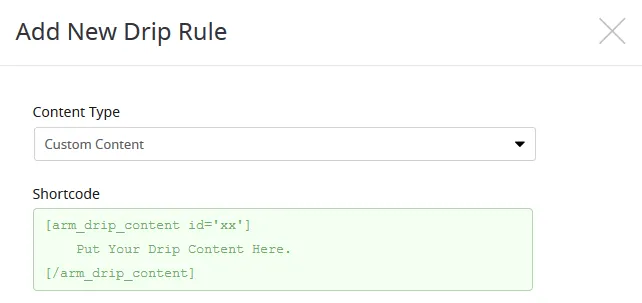
While adding the Drip Rules, you will find a Custom Content option in the Content Type dropdown list. By selecting this option, you will be able to add custom content and along with that, the shortcode for the particular custom content will also be available there.
By using that shortcode in any page/post/custom post you can drip your specific content – the content only added within the shortcode. Other than that, everything else will work the same as drip content for page/post/custom post.
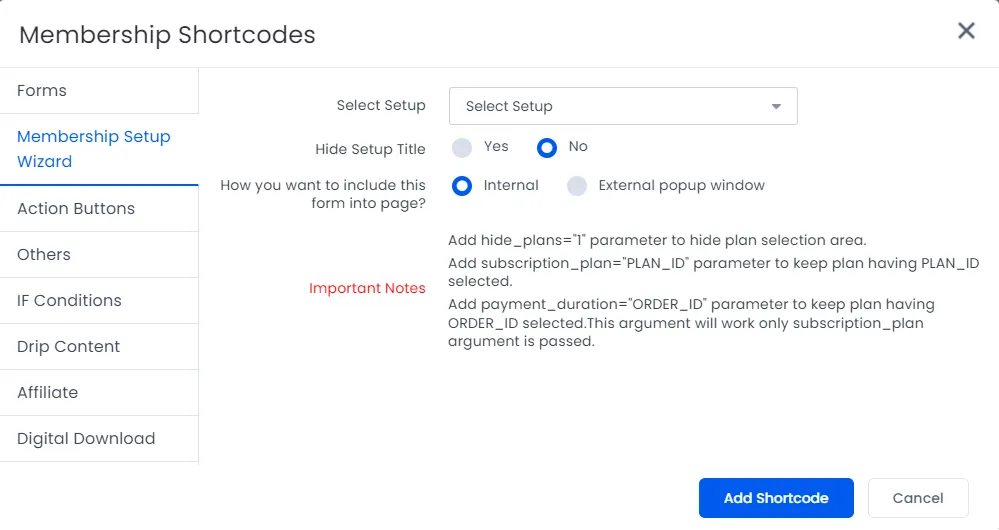
If you have created any drip rule for “custom content”, it will be available directly in the list of shortcodes supported with WordPress editor.
7. Drip Rules – Metabox
When you add a new page/post/custom post, the default Drip Rules which are set while configuring the Drip Content will be applied to the page/post/custom post for that specific type.
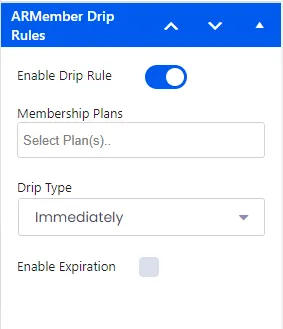
So, you can also edit Drip Rules from a particular page/post/custom post having a meta box in the RIGHT options panel. So, that can be changed easily. You will find metabox shown in the following image:
8. “Before Dripped Content Available” Email Notification for the dripped content.
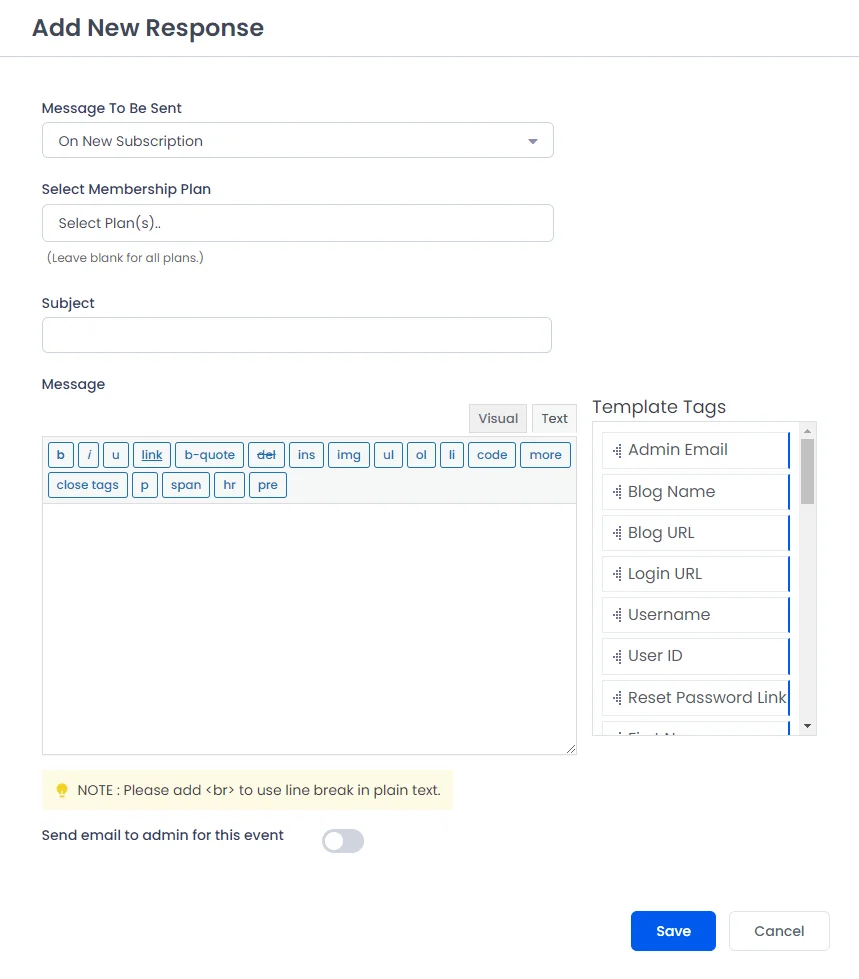
You can send an email message for “Before Dripped Content Available” from Email Notifications. In order to send Drip content URL to user or admin you can add “User Drip Content URL” Template Tag inside Email.


